Release Note
-
With the scheduled migration on Wednesday, May 27, the user integration management process (hereinafter referred to as User Integration) will be applied to cubeCDMS, cubeBUILDER, cubeCTMS, and cubeLMS.
-
Using User Integration, users no longer need to set different passwords for each Solution and Server, and can use one password for one account to log in to the Solution where User Integration is applied.
If the passwords differ, they will all be unified, first, cubeCDMS SVC → cubeCDMS EDU → cubeLMS SVC → cubeLMS EDU will be changed in this order. -
cubeLMS will include a feature that allows you to access CRScube Help Center. Therefore, after May 27 related inquiries should be submitted through CRScube Help Center.
-
In CRScube Help Center, a ticket registration or Update alert email is sent. Please check your email to confirm that the ticket was received successfully.
Common Changes
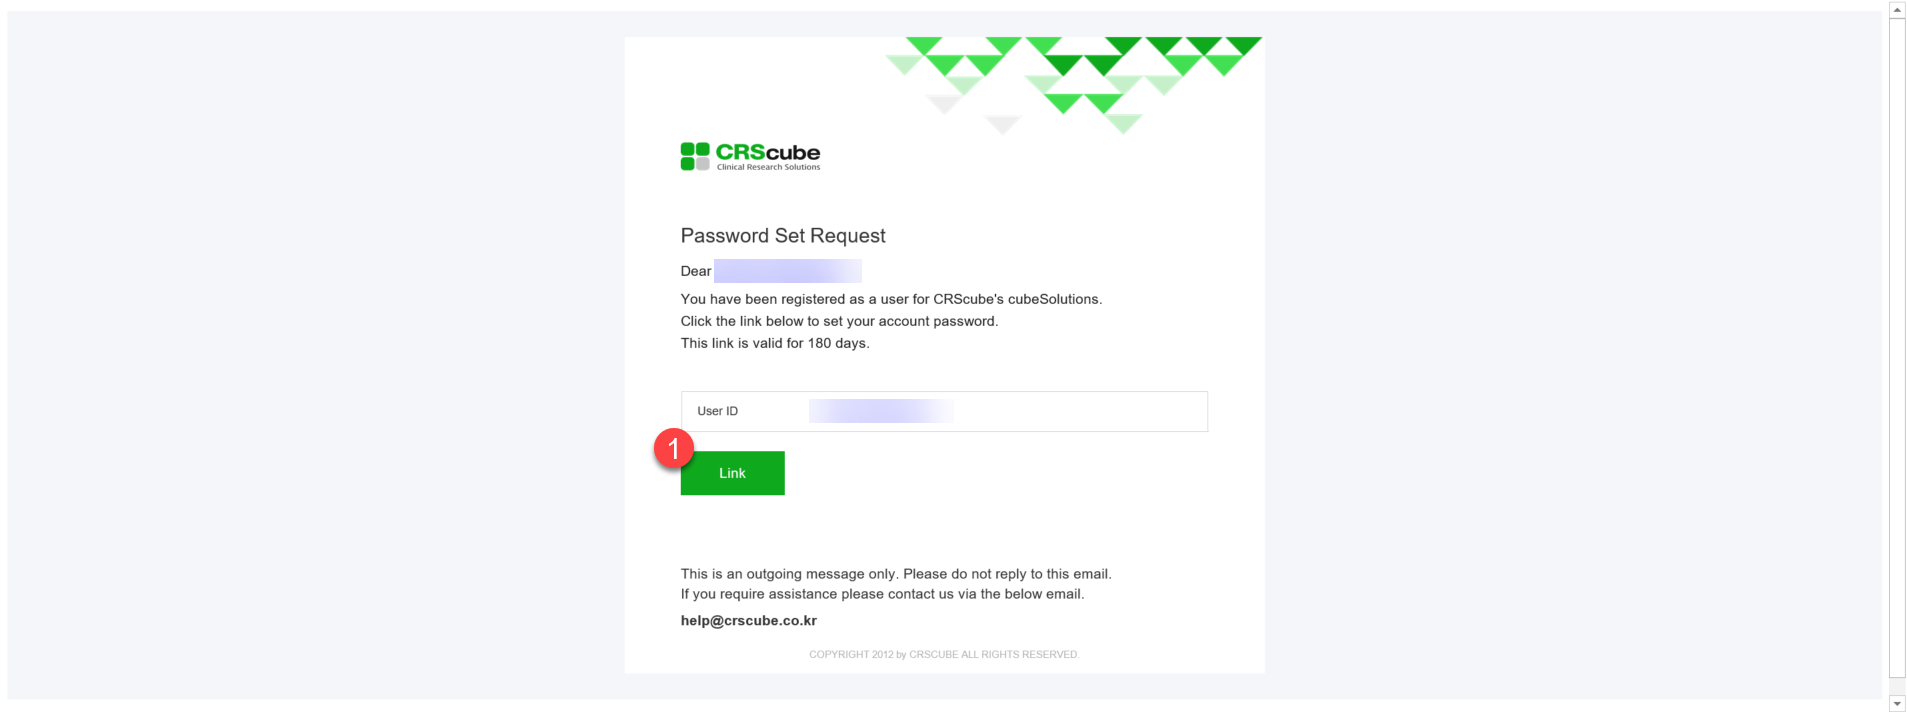
<Password setup email (when a user is first registered in cubeSystem)>
-
When you are first registered in cubeSolution with the User Integration process applied, a password setup email is sent to the user's email address.
-
When you click the ① Link button at the bottom of the email, you are taken to a webpage where you can set your password, and you can set your password on the page you arrive at. (See the password setup screen section below)
-
The link to the password setup webpage expires 180 days after it is sent, so if it expires, you must request a password reset email from cubeSolution (e.g., click the Find Password button on the login screen) and set your password.
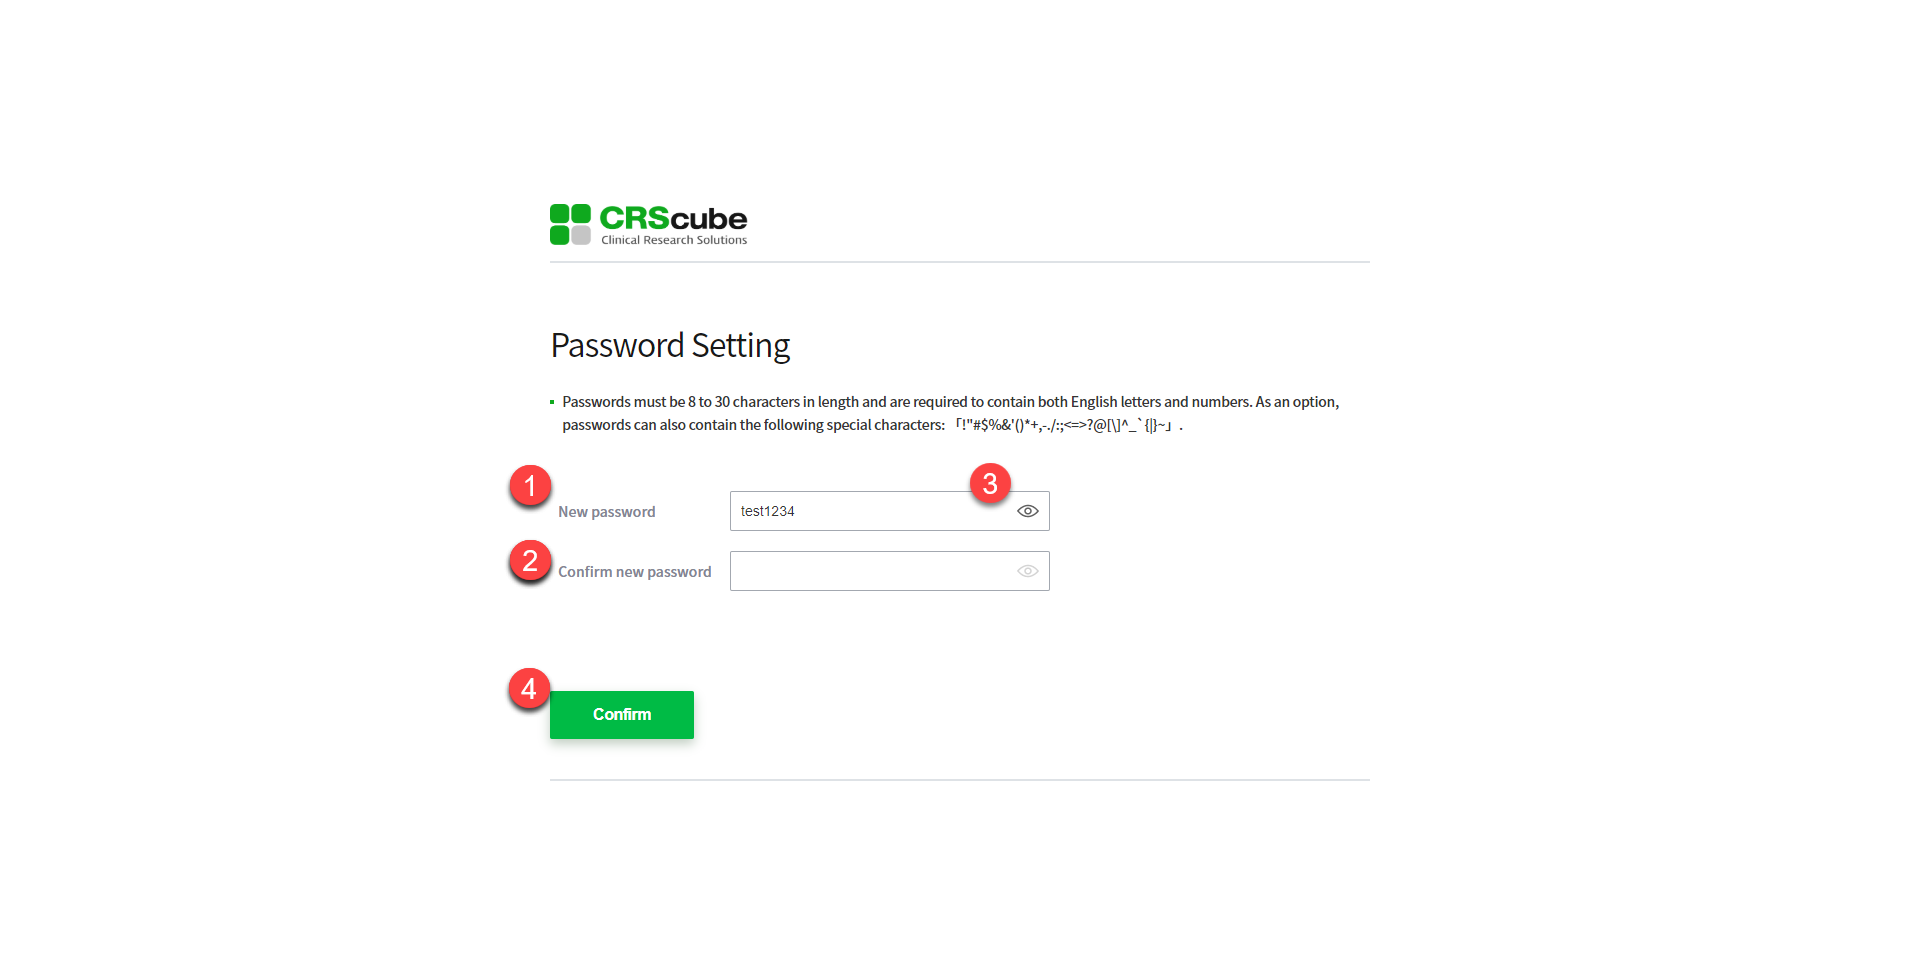
<Password Setting Screen>
-
If you click Link in the password setup/reset email, you will be taken to the screen where you can set your password, as shown in the image on the left.
-
Enter the new password you want to set in ① New Password.
-
Enter the new password again in ②.
-
Click the eye icon in ③ to check the text you entered.
-
After entering items ① and ② correctly, click the ④ Confirm button.
-
The password setup rules are as follows.
-
The password must be 8 to 30 characters long and must include both letters and numbers.
-
The special characters that can be used for passwords are listed in 「」 on the screen.
-
When resetting your password, the new password cannot be the same as your current password.
-
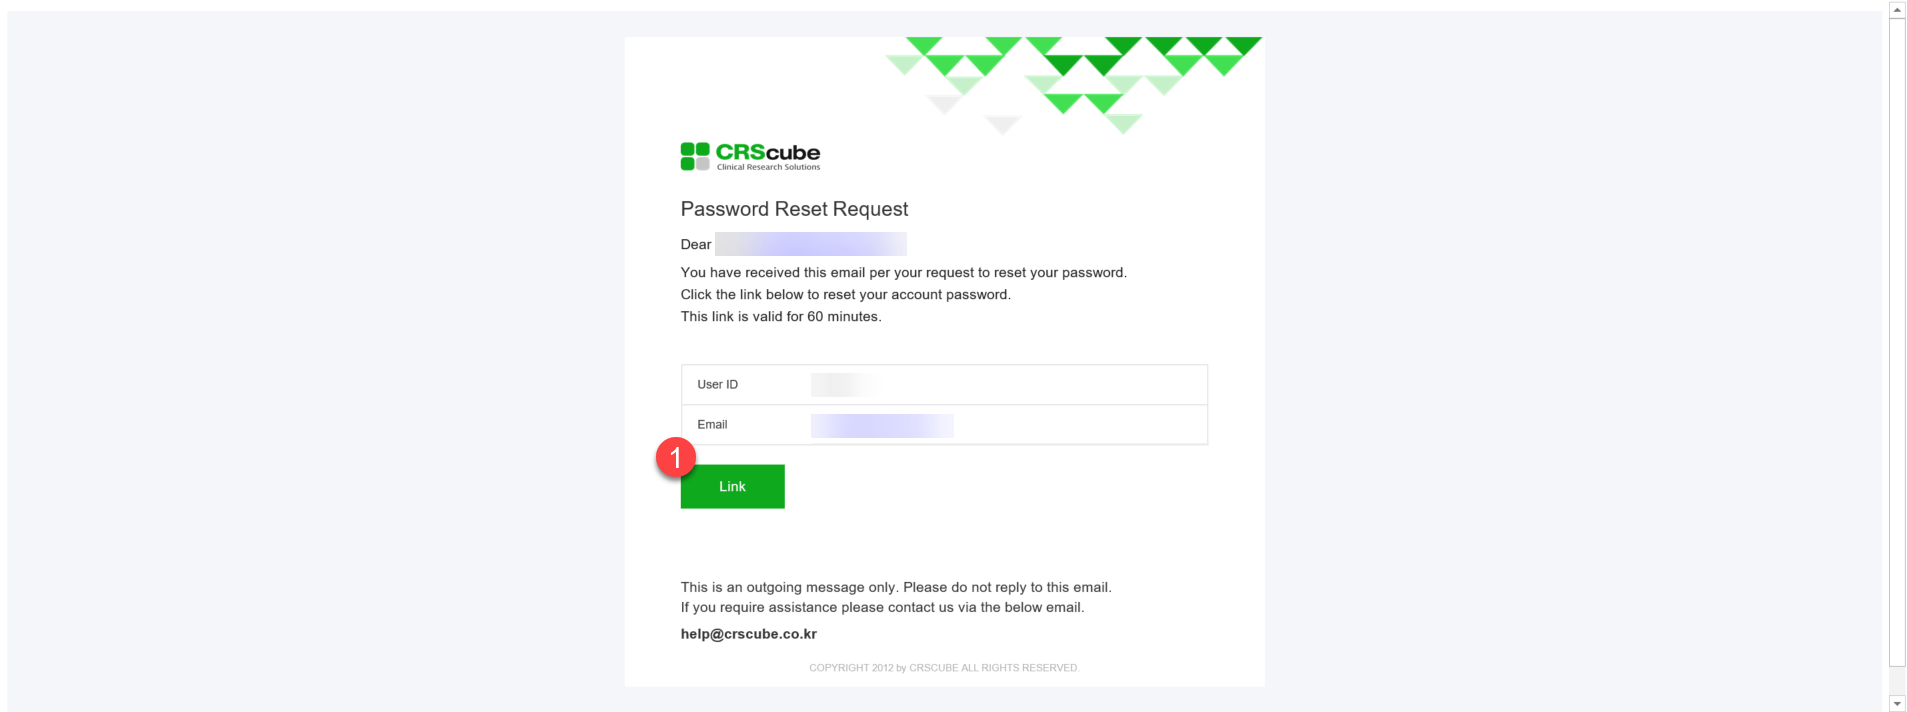
<Password Reset Email>
-
The password reset email is sent using the same template as the image on the left.
-
The link in the email expires 60 minutes after it is sent, so request another email when it expires.
-
At the bottom of the email ① Link button, when you click it, you are taken to the webpage where you can set your password, and you can set your password on the page you are taken to.
<Password Setup/Reset Link Expiration>

-
The Link expiration screen appears in the following cases, and clicking the button in ① takes you to the Solution webpage where the password (re)set email was requested.
-
When you have already completed password setup through the Link in the email and click the same Link again
-
When you have requested password reset emails several times and click the password setup Link in any email other than the most recently sent email
-
When you click the Link in the email 180 days after the password setup email was sent
-
When you click the Link in the email 60 minutes after the password reset email was sent
-
LMS changes related to User Integration implementation
<Before>
<Change Item>
<After>
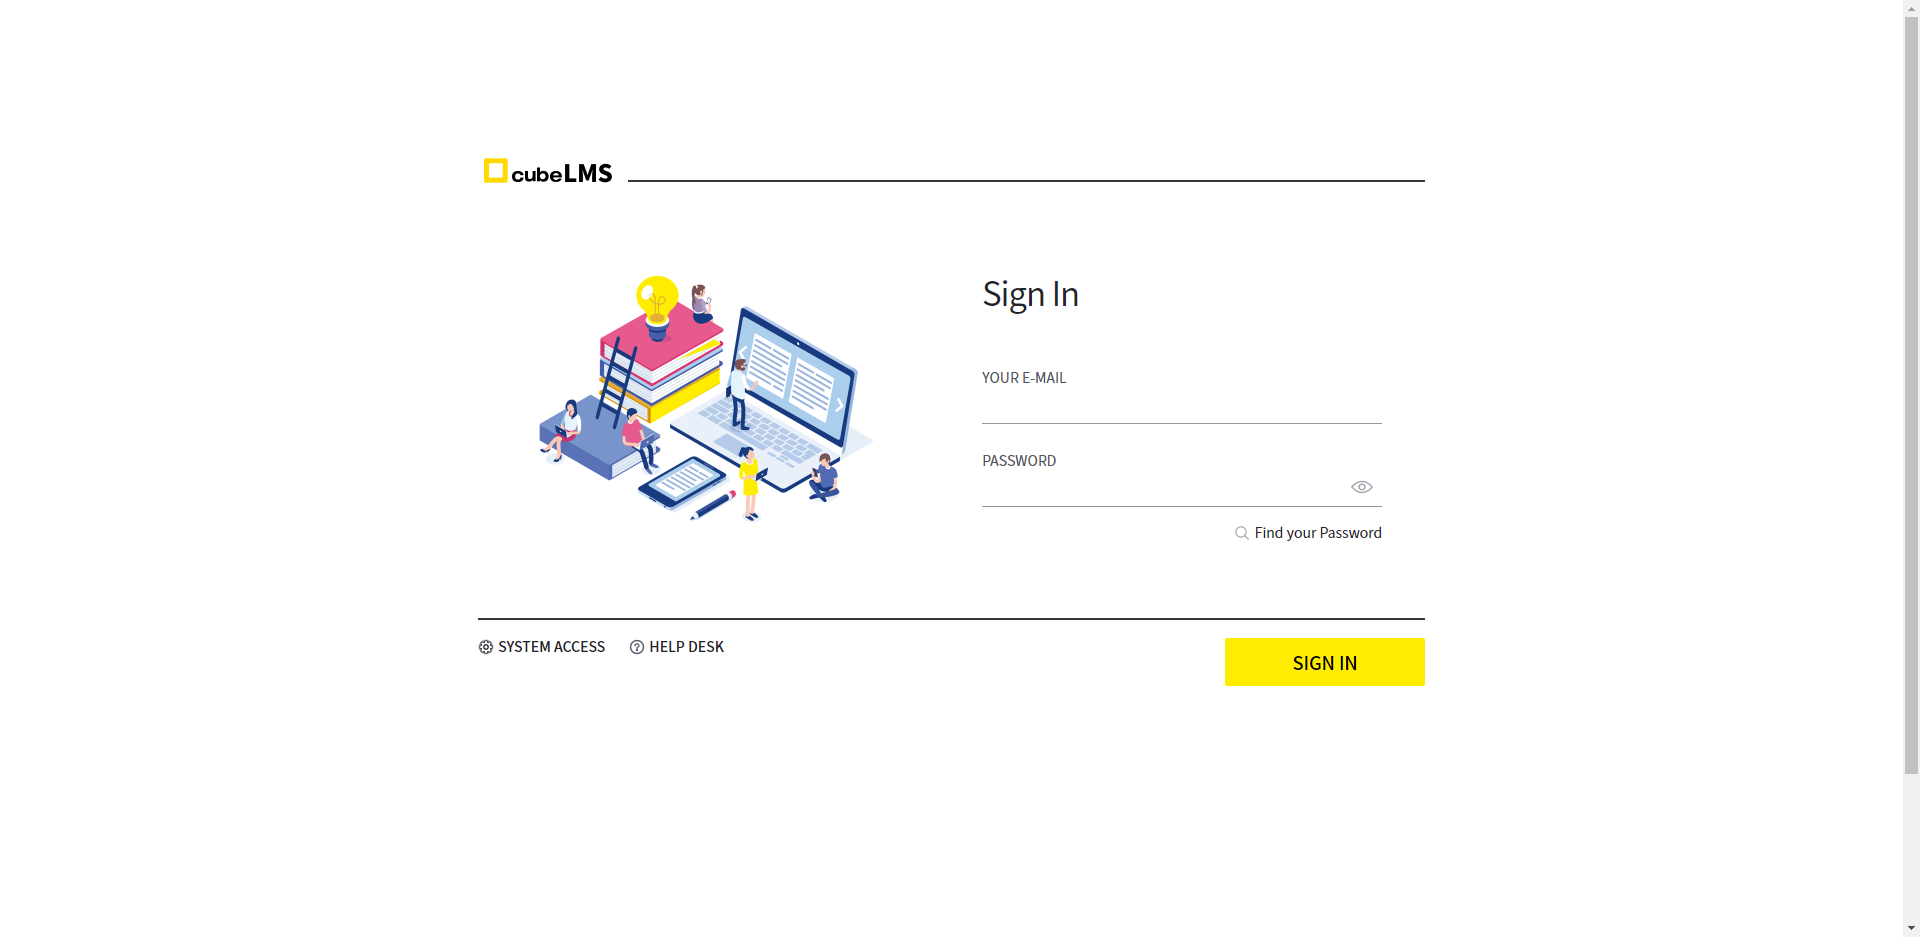
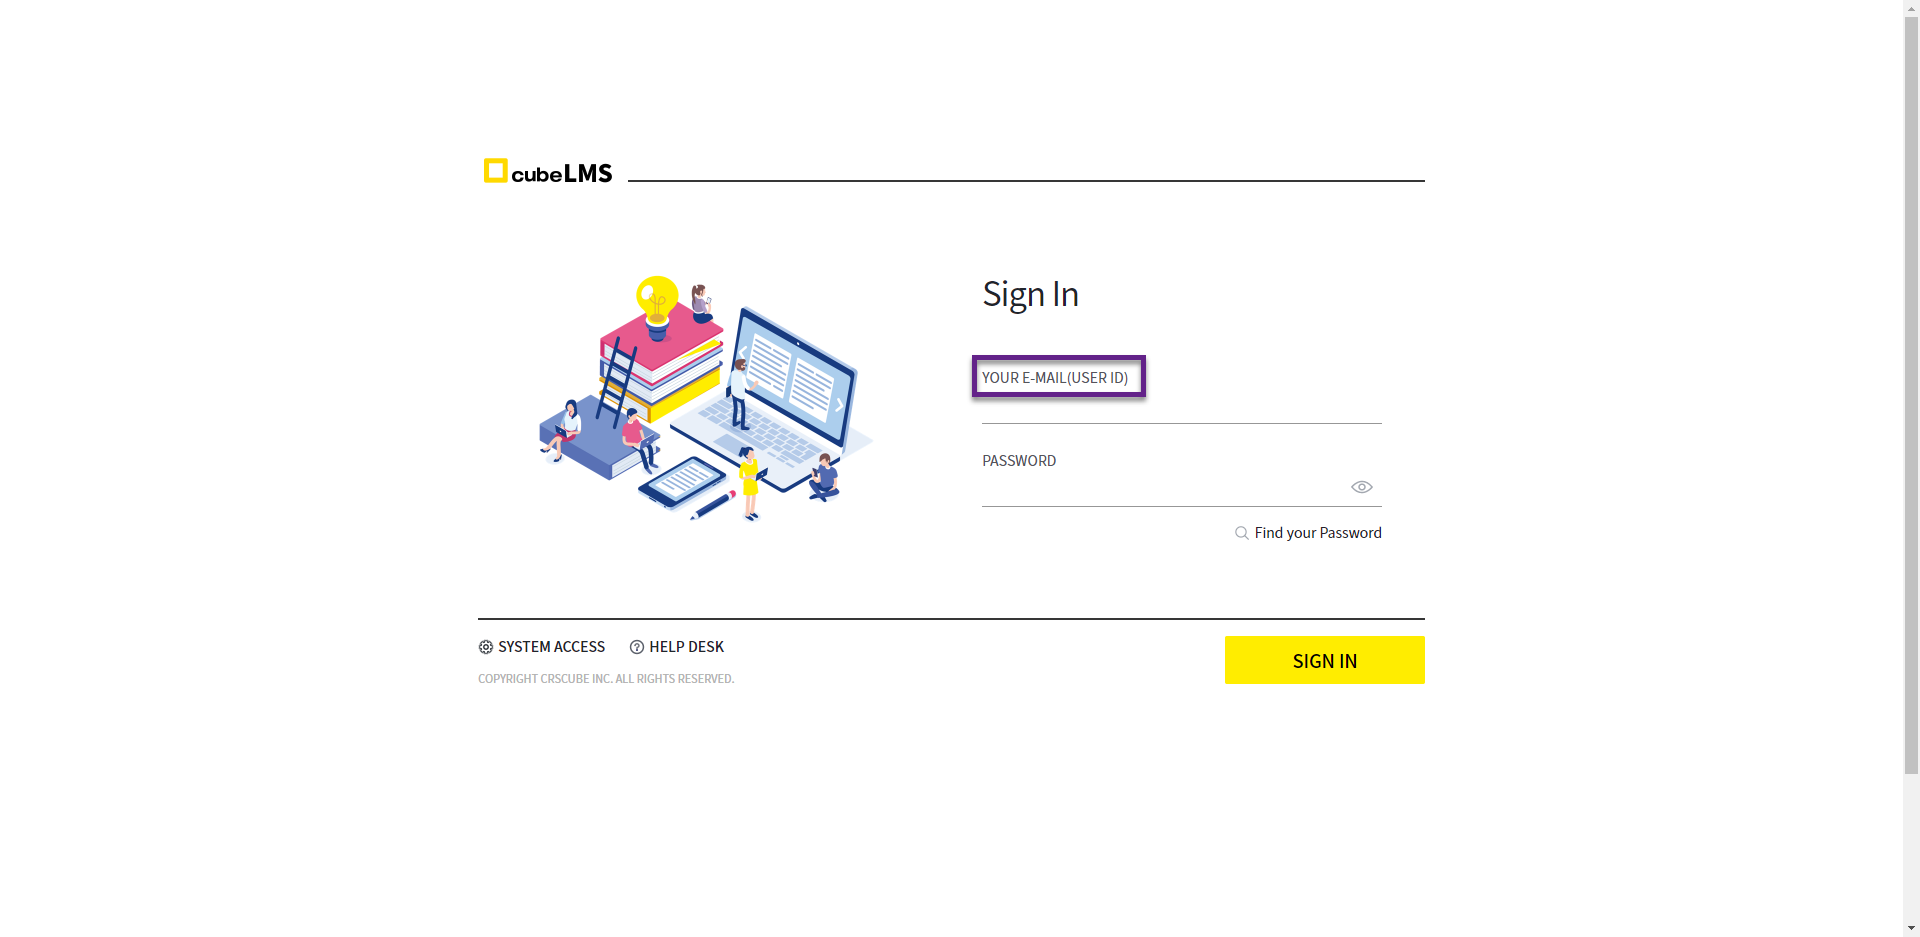
<Sign In>
-
If you have set a separate ID in cubeCDMS, you can also log in to cubeLMS with the same ID.

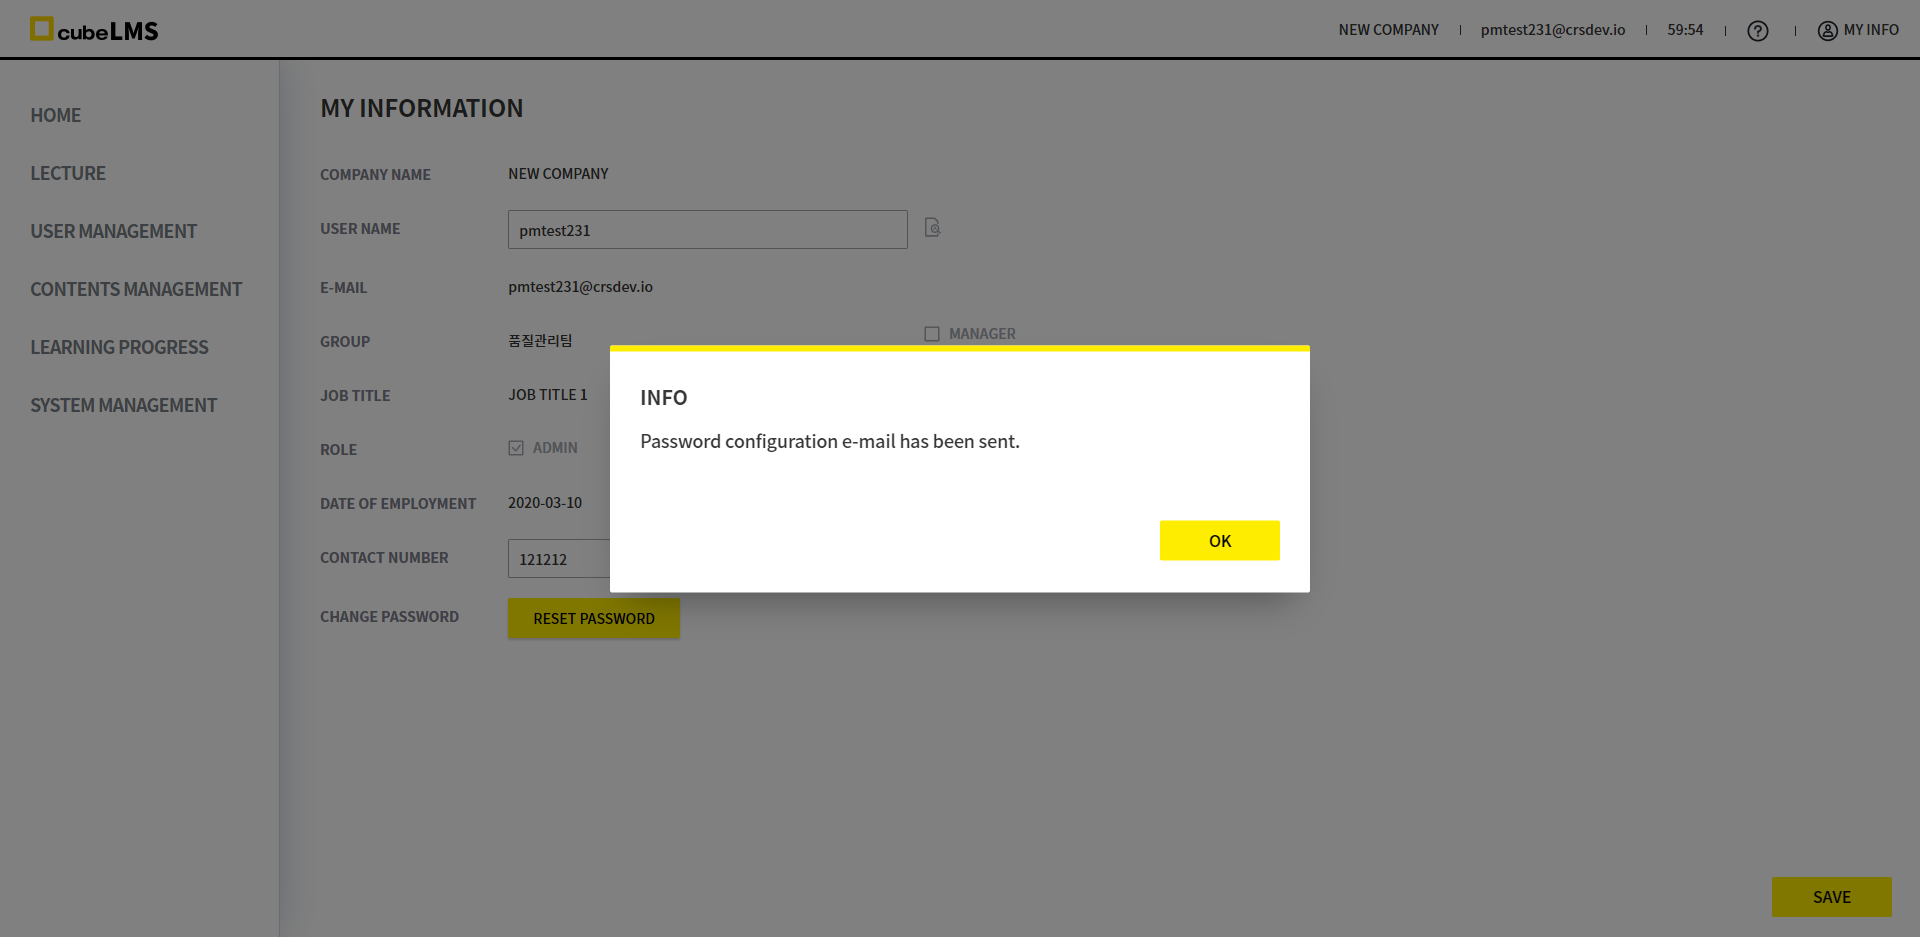
<Reset Password>
-
Previously, you could complete the change by entering the new password in the popup window that appeared when you clicked the RESET PASSWORD button.
-
With the May regular migration, when you click the RESET PASSWORD button, a Password Reset Request Mail is sent to the USER's E-MAIL. You can change your password on the Password Setting page you are taken to when you click the LINK in that Mail.

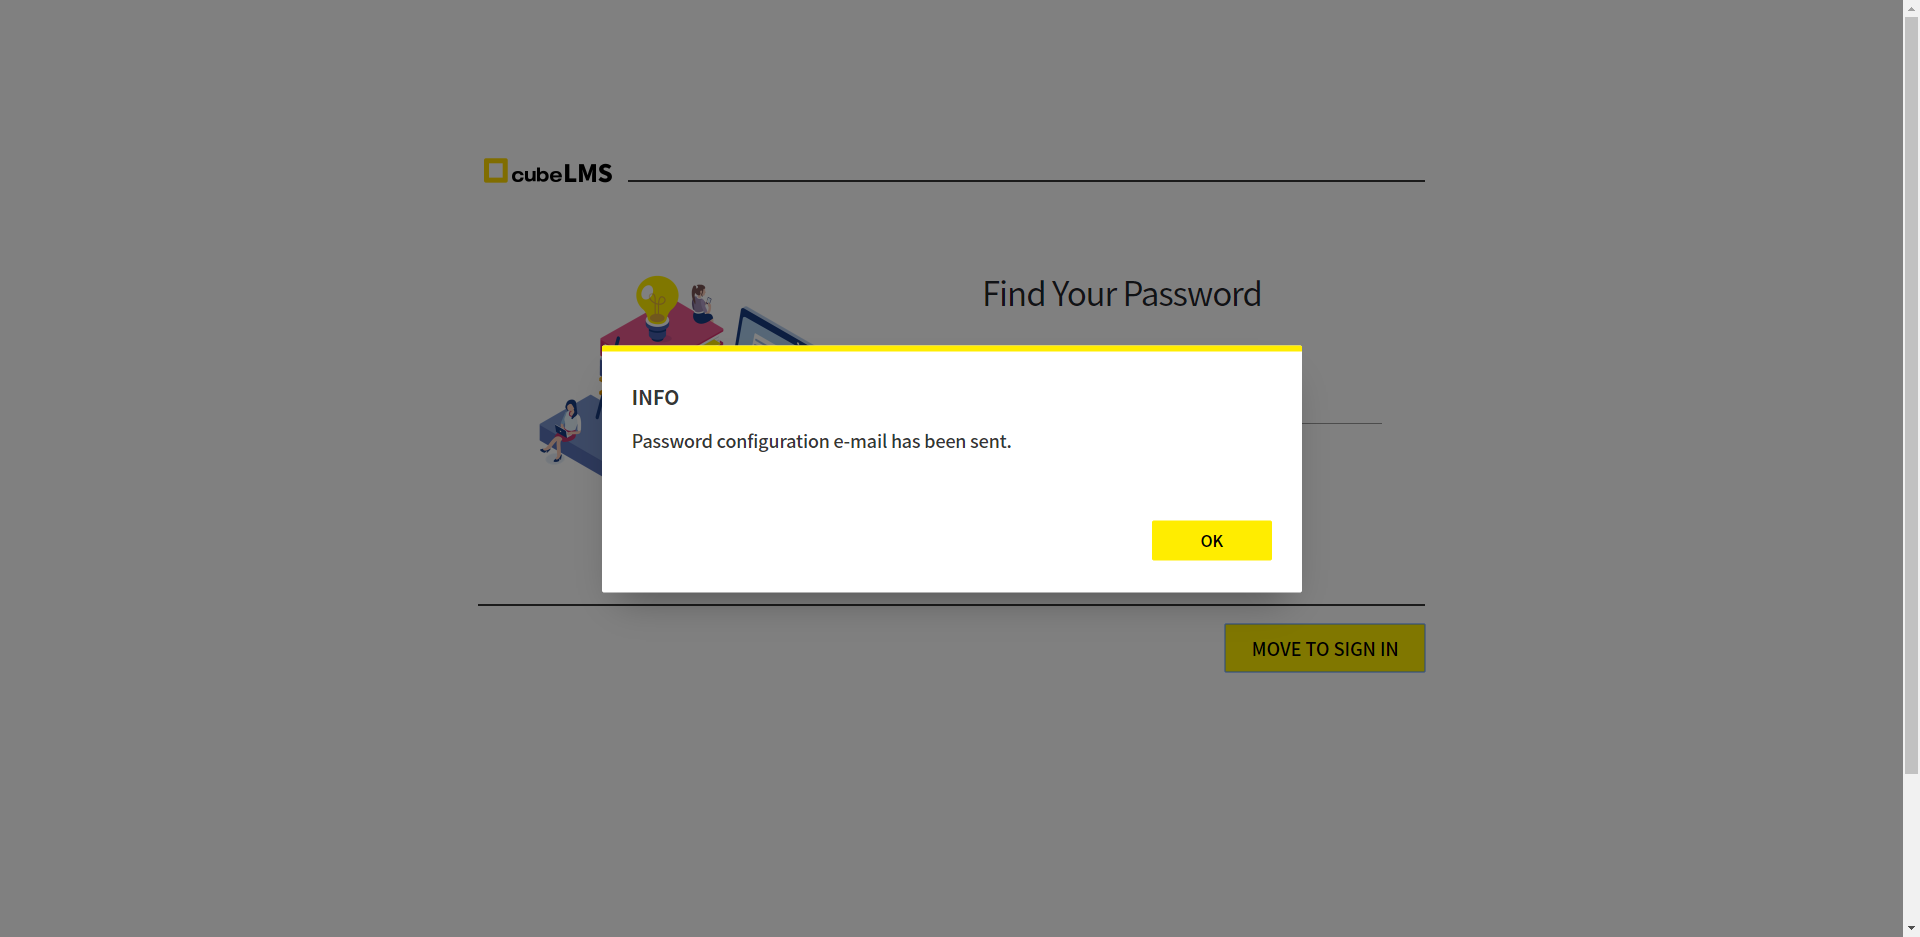
<Find Your Password>
-
Previously, the STATUS of the E-MAIL entered in the FIND YOUR PASSWORD page field was verified, so a USER with INACTIVE or DELETED STATUS could not proceed with password recovery, but since the May regular migration, regardless of the USER's STATUS, a Password Reset Request Mail is sent to the E-MAIL entered in the field, so you can reset your password.
Help Center
Supported Browsers
The following desktop browsers are supported by Zendesk.
-
Google Chrome: latest version as of now + previous version
-
Mozilla Firefox: latest version as of now + previous version
-
Apple Safari: latest version as of now + previous version
-
Microsoft Edge: latest version as of now + previous version
Zendesk does not support Microsoft Internet Explorer. Please note that Ticket cannot be created in Microsoft Internet Explore.
Access CRScube Help Center
1. Access via cubeLMS

-
After accessing cubeLMS, click the ? HELP CENTER button in the upper-right corner of the screen to go to CRScube Help Center while logged in.
2. Direct access via URL
-
Enter the CRScube Help Center URL in the browser address bar.
https://crscube.zendesk.com/ -
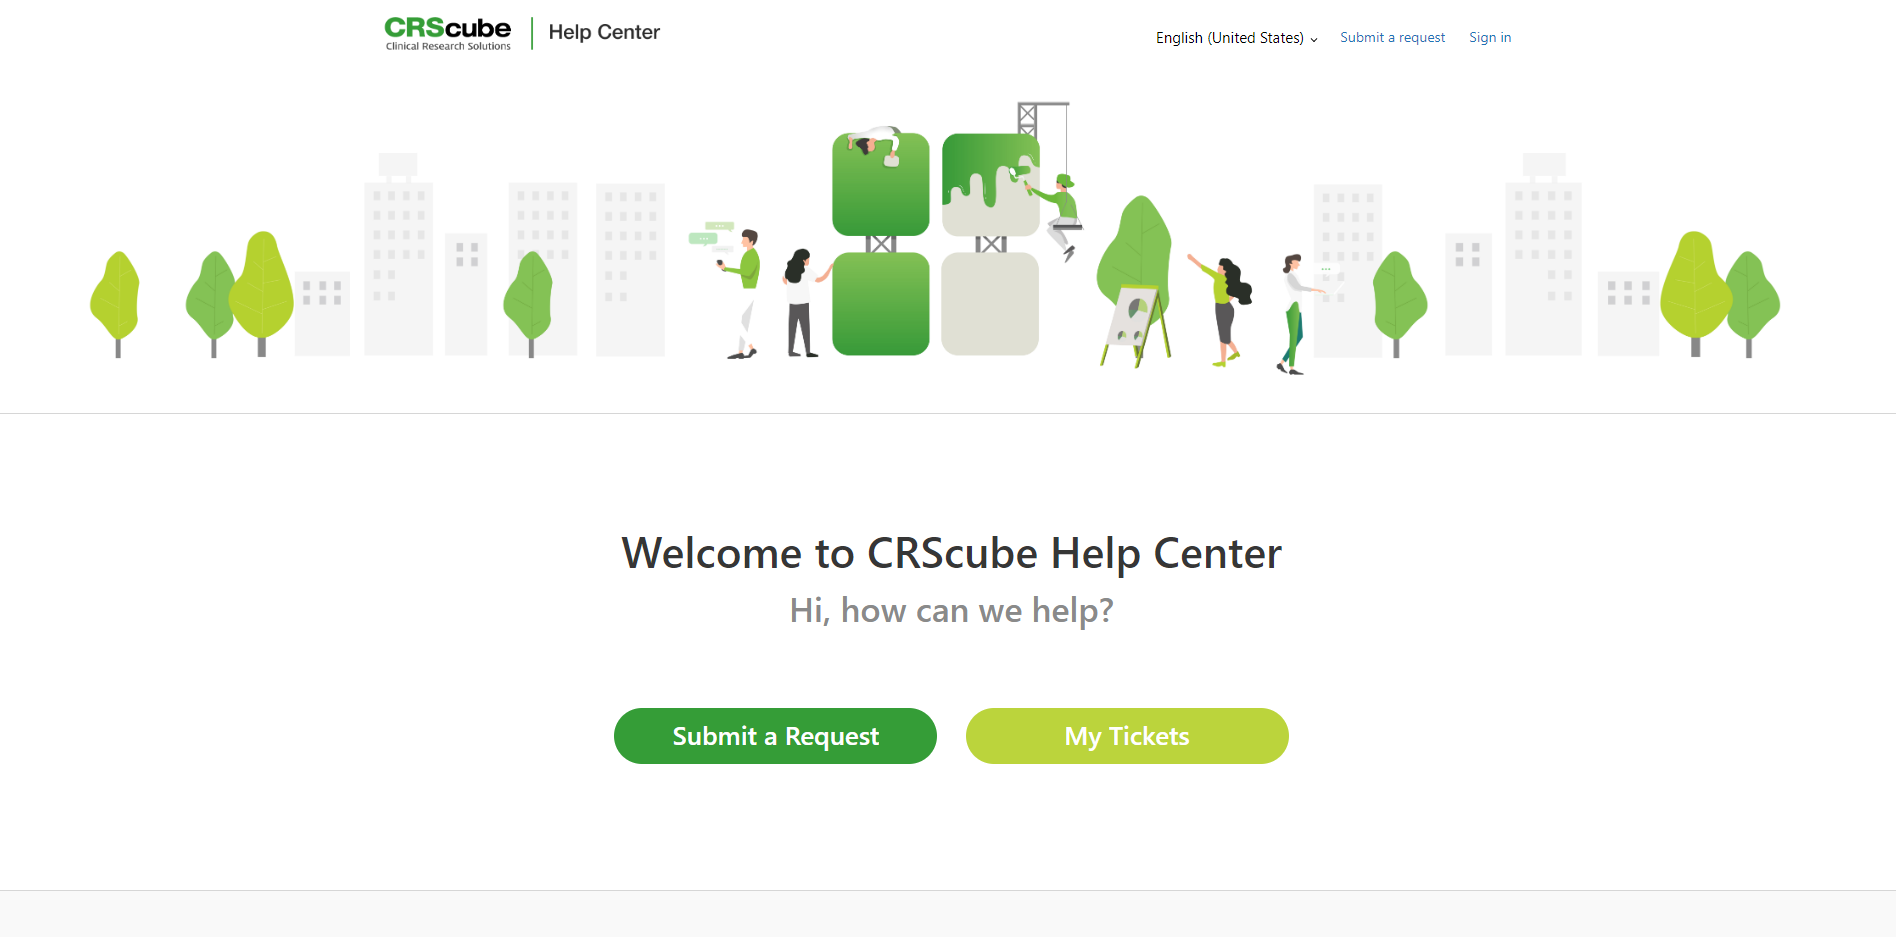
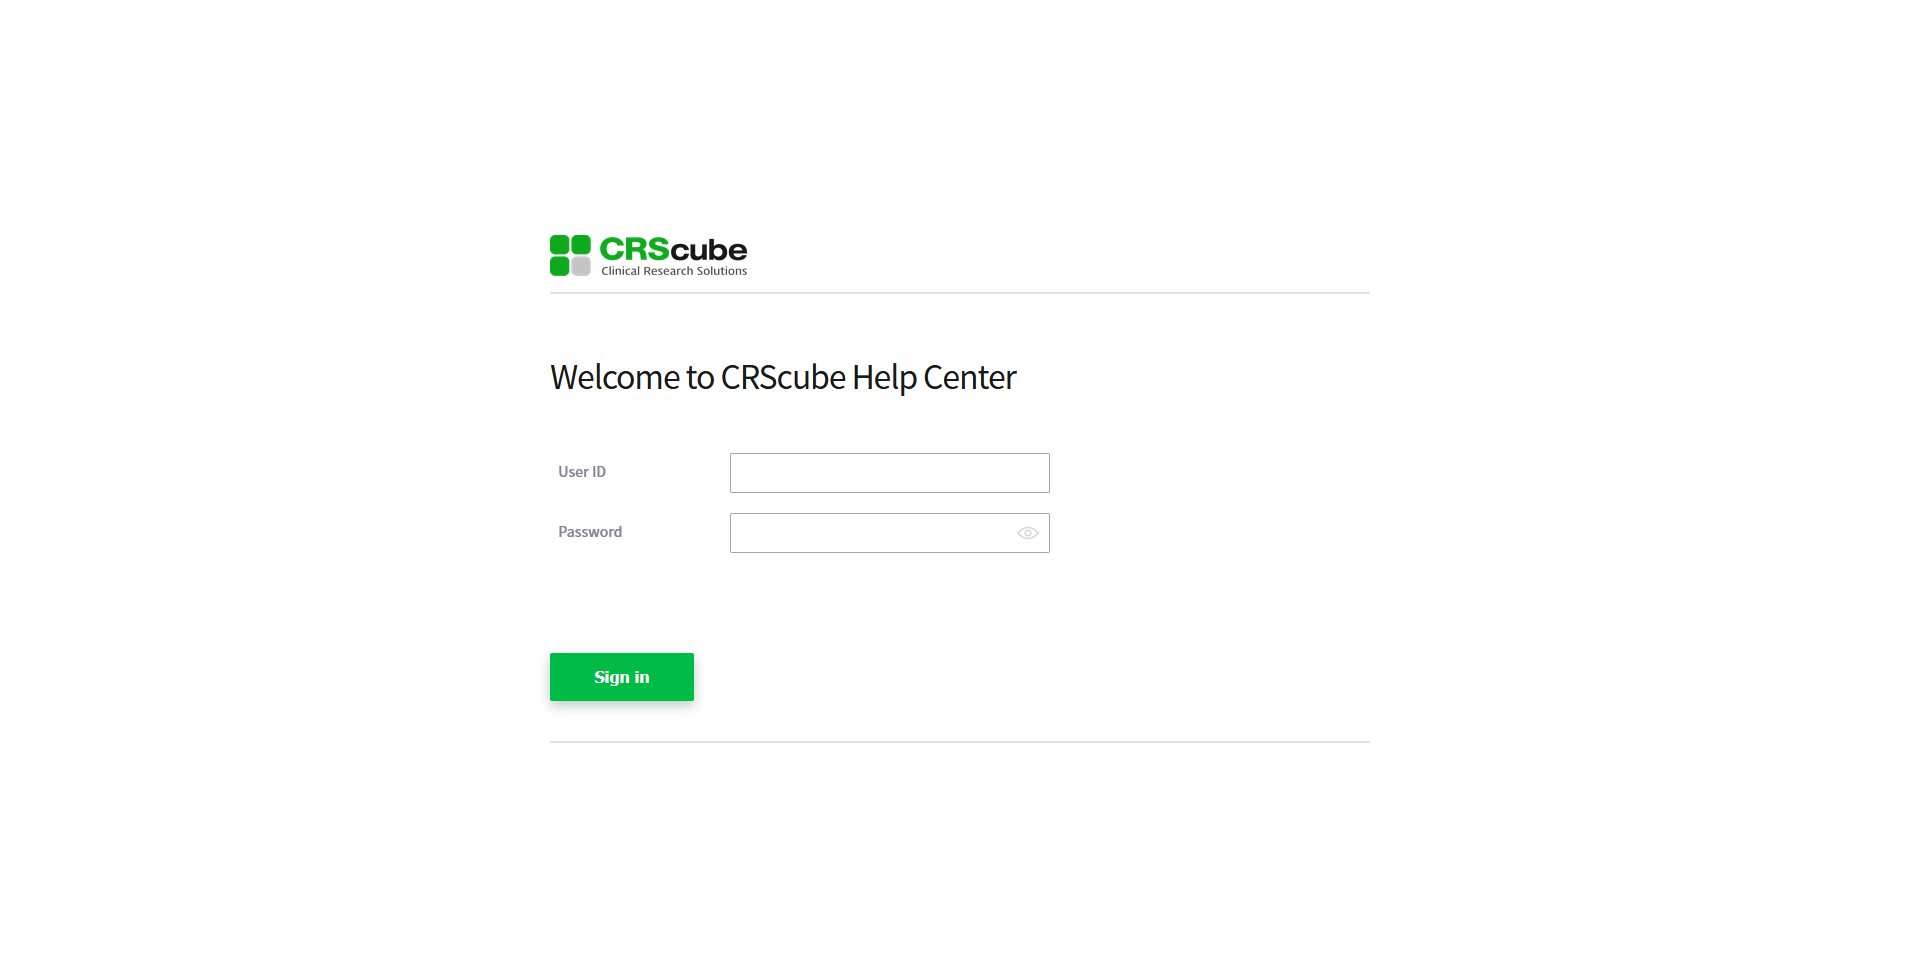
The CRScube Help Center appears in a logged-out state.
-
You can log in to CRScube Help Center with a cubeLMS-registered account.
-
Click the Sign in button in the upper right corner of Help Center to go to the login page.
-
Enter the ID and Password, then click Sign in to log in.
⊙ Consent to Entrust Personal Information Processing
-
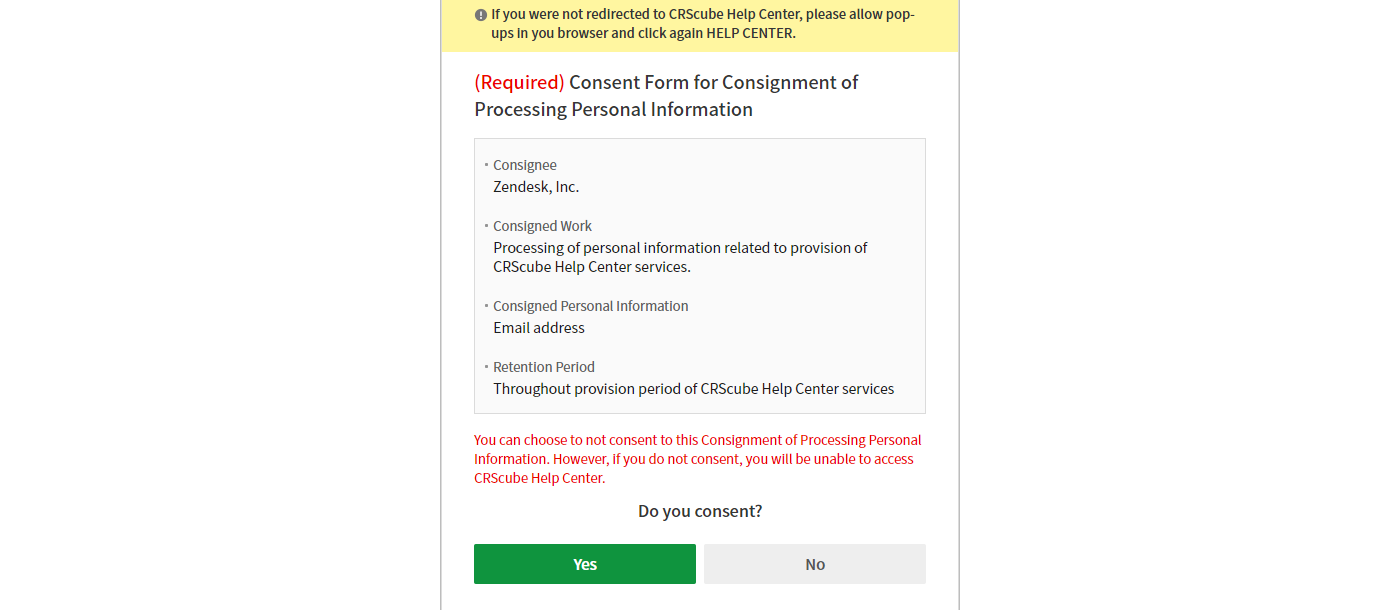
In accordance with the Personal Information Protection Act, a popup asking for consent to the outsourcing of personal information processing appears the first time you access CRScube Help Center.
-
You can use CRScube Help Center only if you agree to provide your email, which is personal information, to Zendesk, the entrusted party.
Submit a Request in CRScube Help Center
-
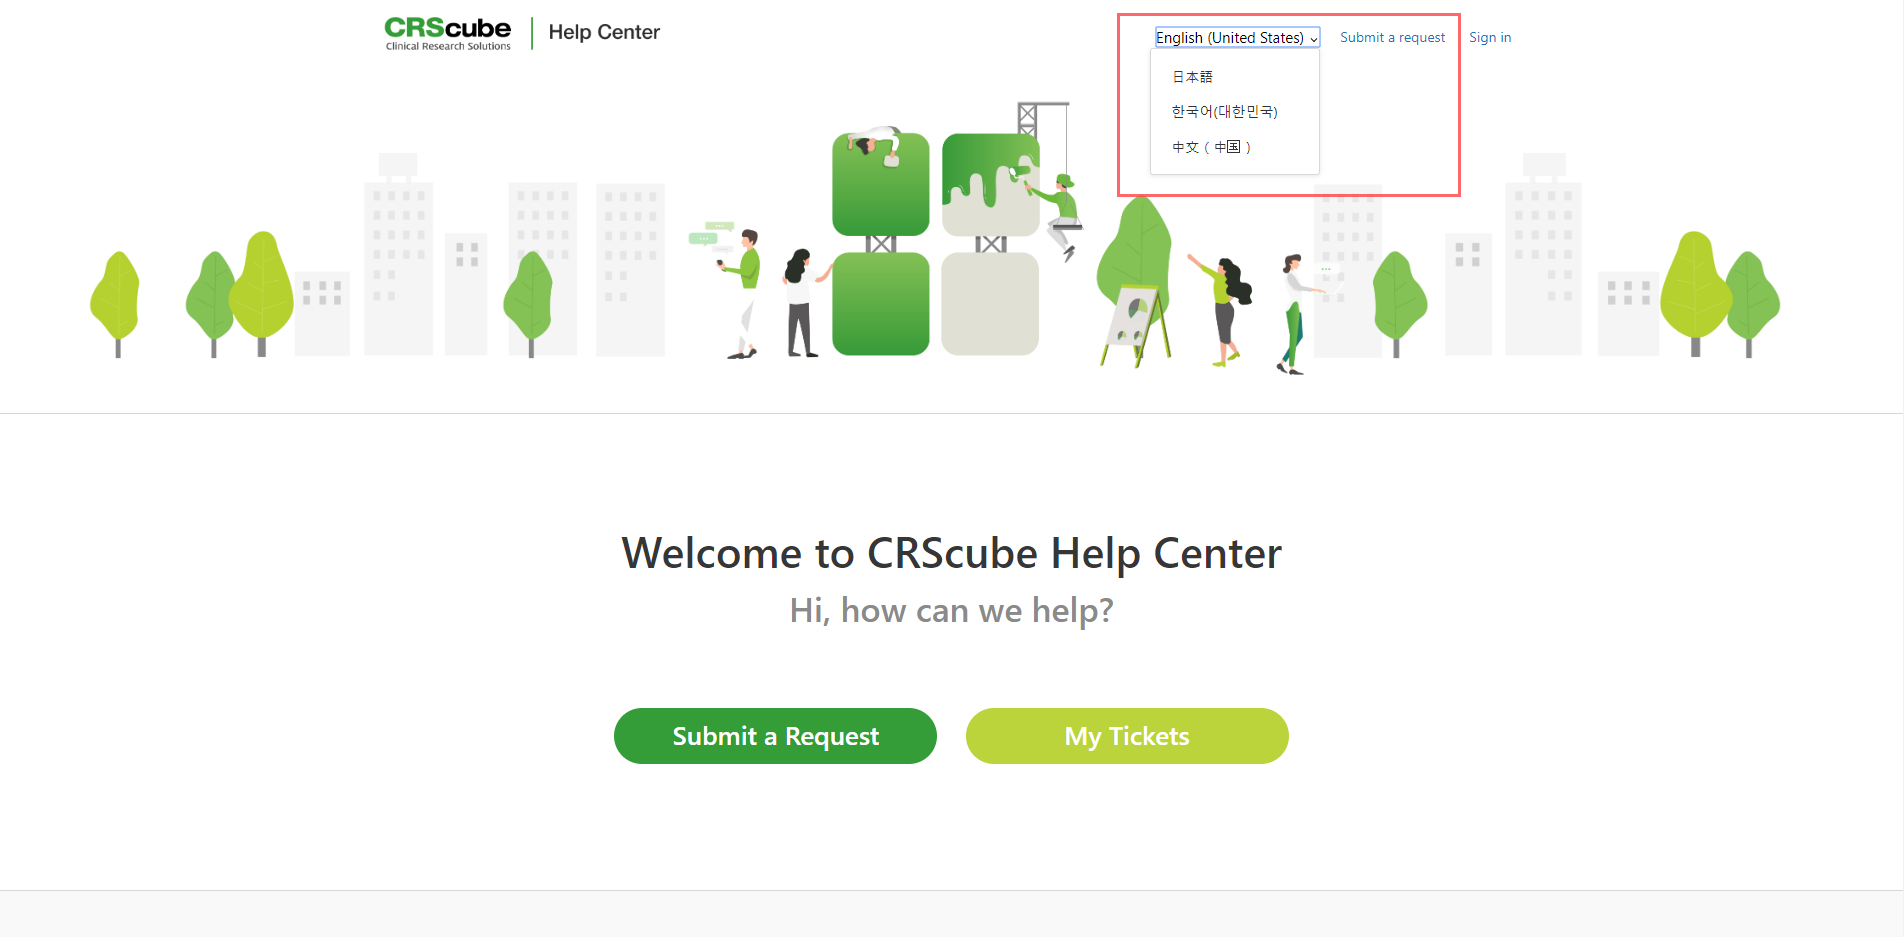
화면 우측 상단에서 CRScube Help Center의 언어를 선택할 수 있습니다.
-
English (United States)
-
日本語
-
한국어(대한민국)
-
中文(中国)
-
-
"Submit a Request"를 클릭하면 문의를 등록할 수 있습니다.

-
Click " Submit a reqeust" to go to the inquiry form page.
-
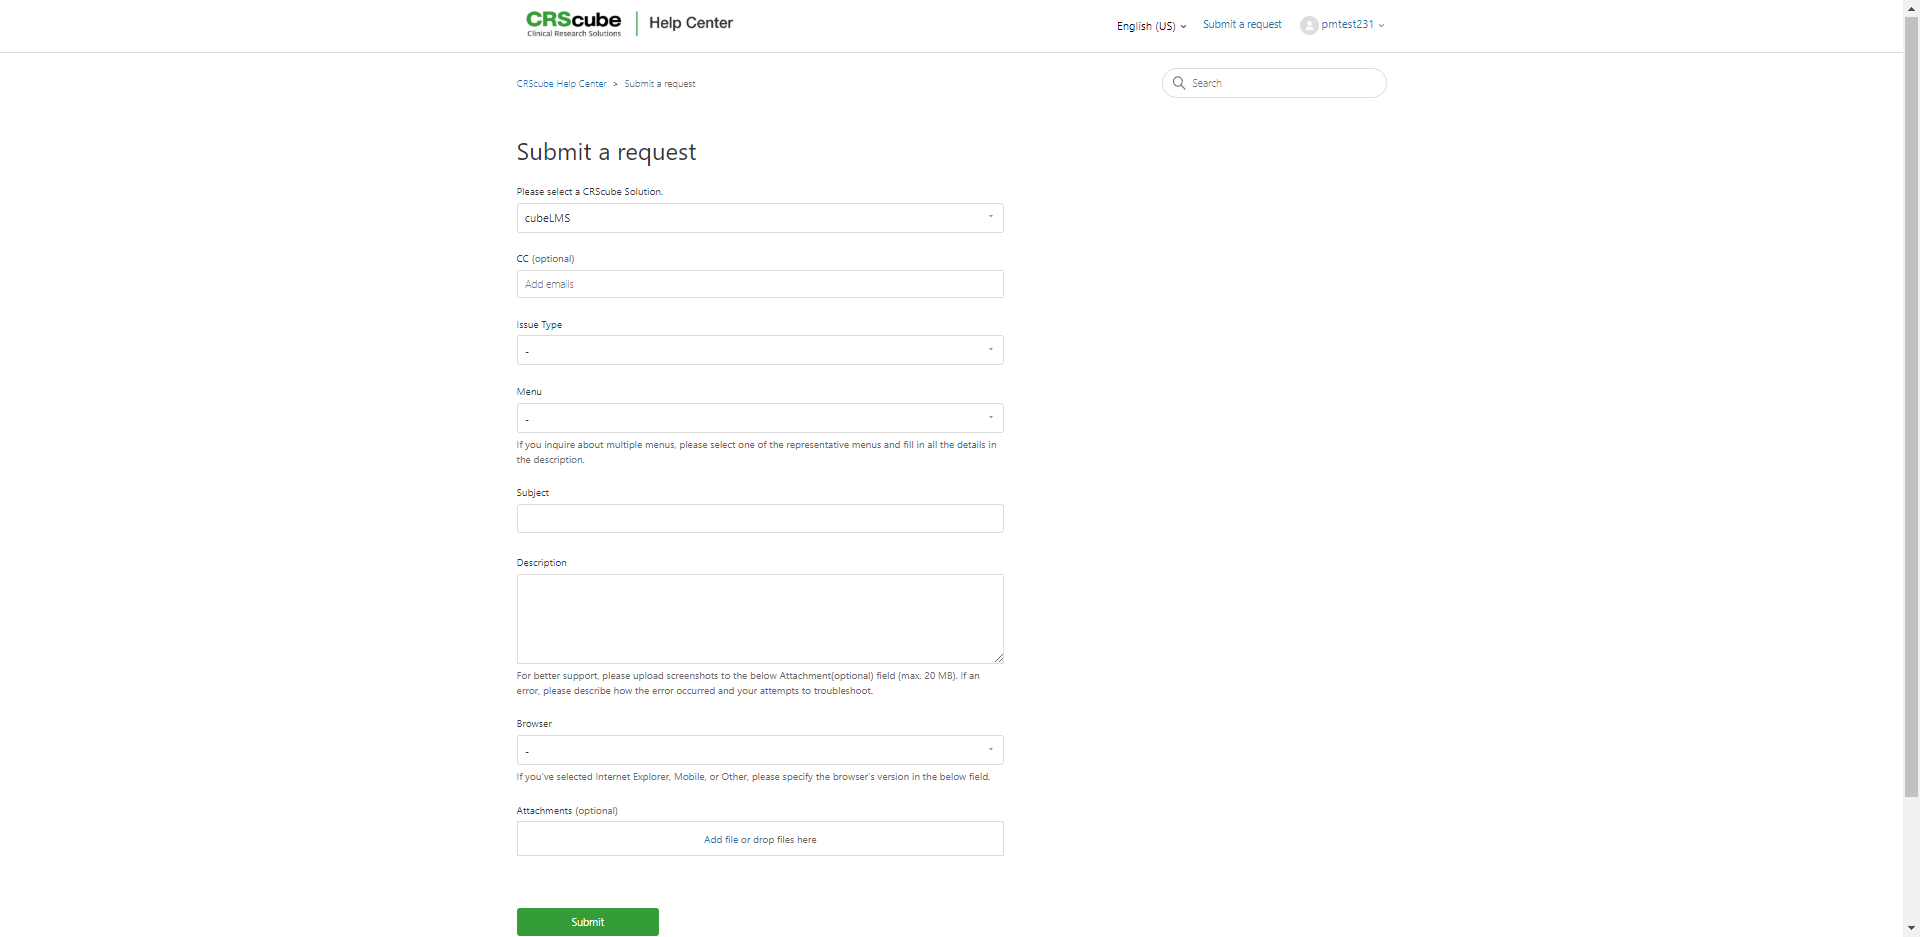
Select the Solution you want to inquire about, and the appropriate inquiry form for that solution appears.
-
Fields not marked as optional are required and must be entered.
-
Please refer to the table below for detailed descriptions of the input screen.
|
Item |
Description |
|---|---|
|
CC |
Only users registered with CRScube Help Center can be added to CC.
|
|
Issue Type* |
|
|
Menu* |
|
|
Subject* |
|
|
Description* |
|
|
Browser* |
|
|
Browser version* |
|
|
Attachments |
|
*is required.
Check your request details
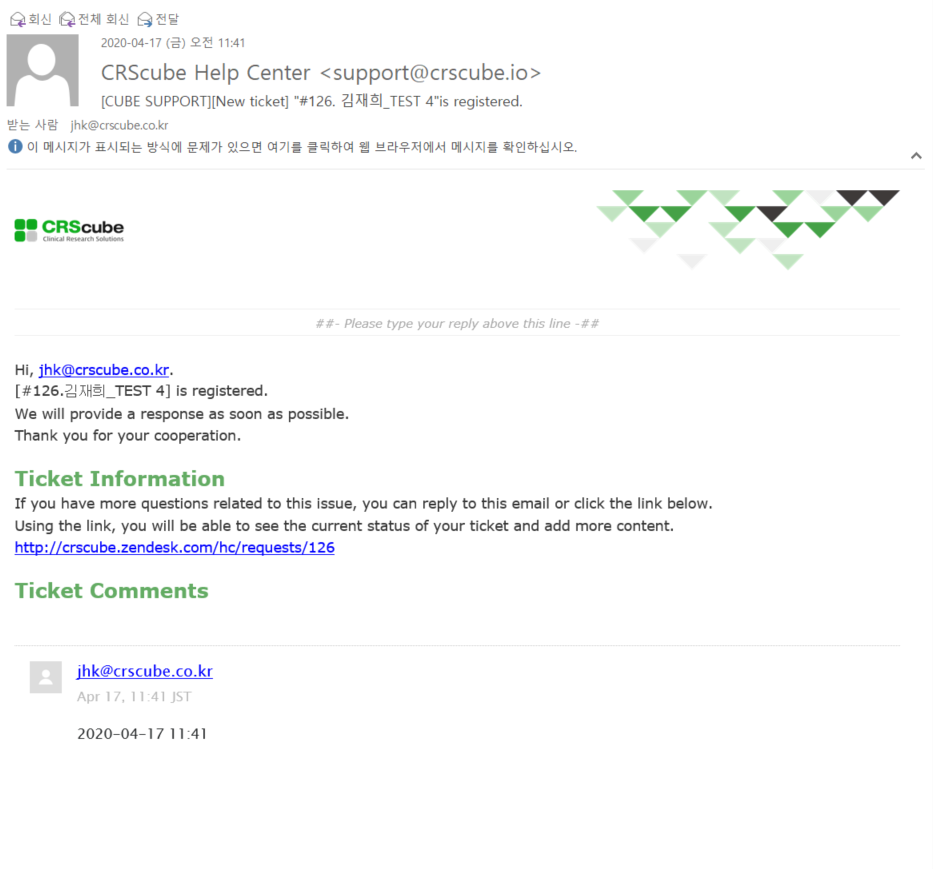
Title: [CUBE SUPPORT][New Ticket] "#{{ticket.id}}. {{ticket.title}}" has been registered.
-
When the ticket is submitted, a registration email is sent to the requester and CC'd users.
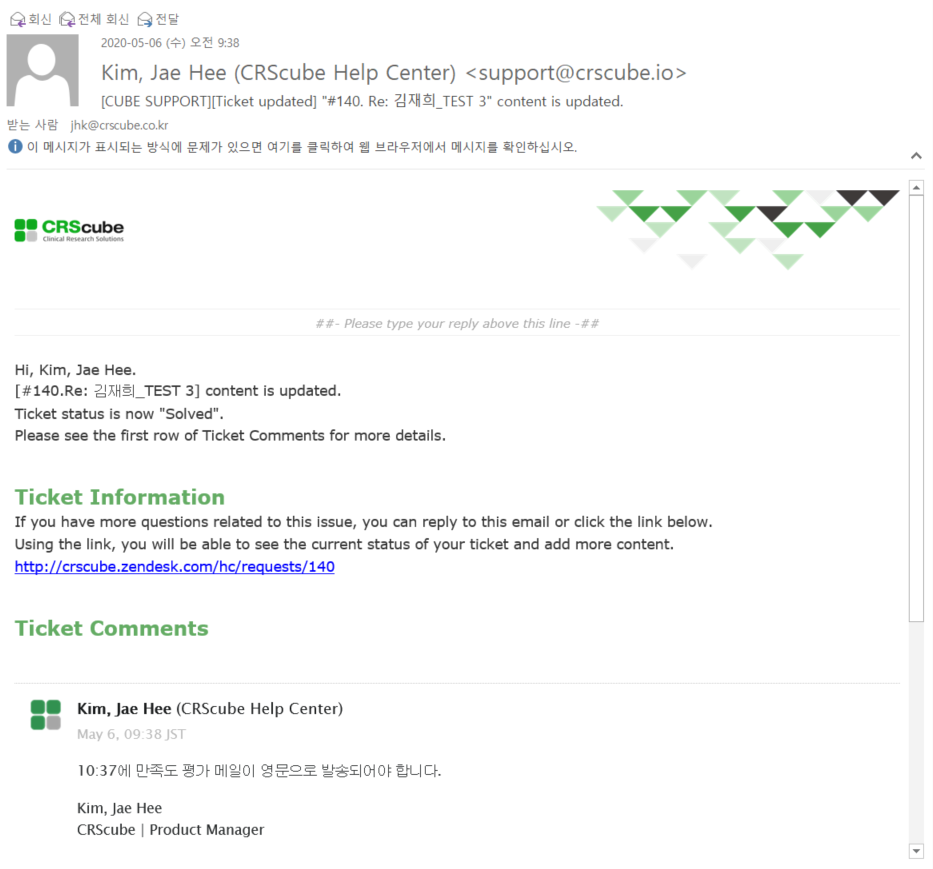
Title: [CUBE SUPPORT][Ticket update] "#{{ticket.id}}. {{ticket.title}}" has been updated.
-
When a reply is added to the ticket, an update notification email is sent to the requester and CC recipients.
-
An update notification email is also sent when the requester or a CC recipient adds an additional inquiry to the ticket.
-
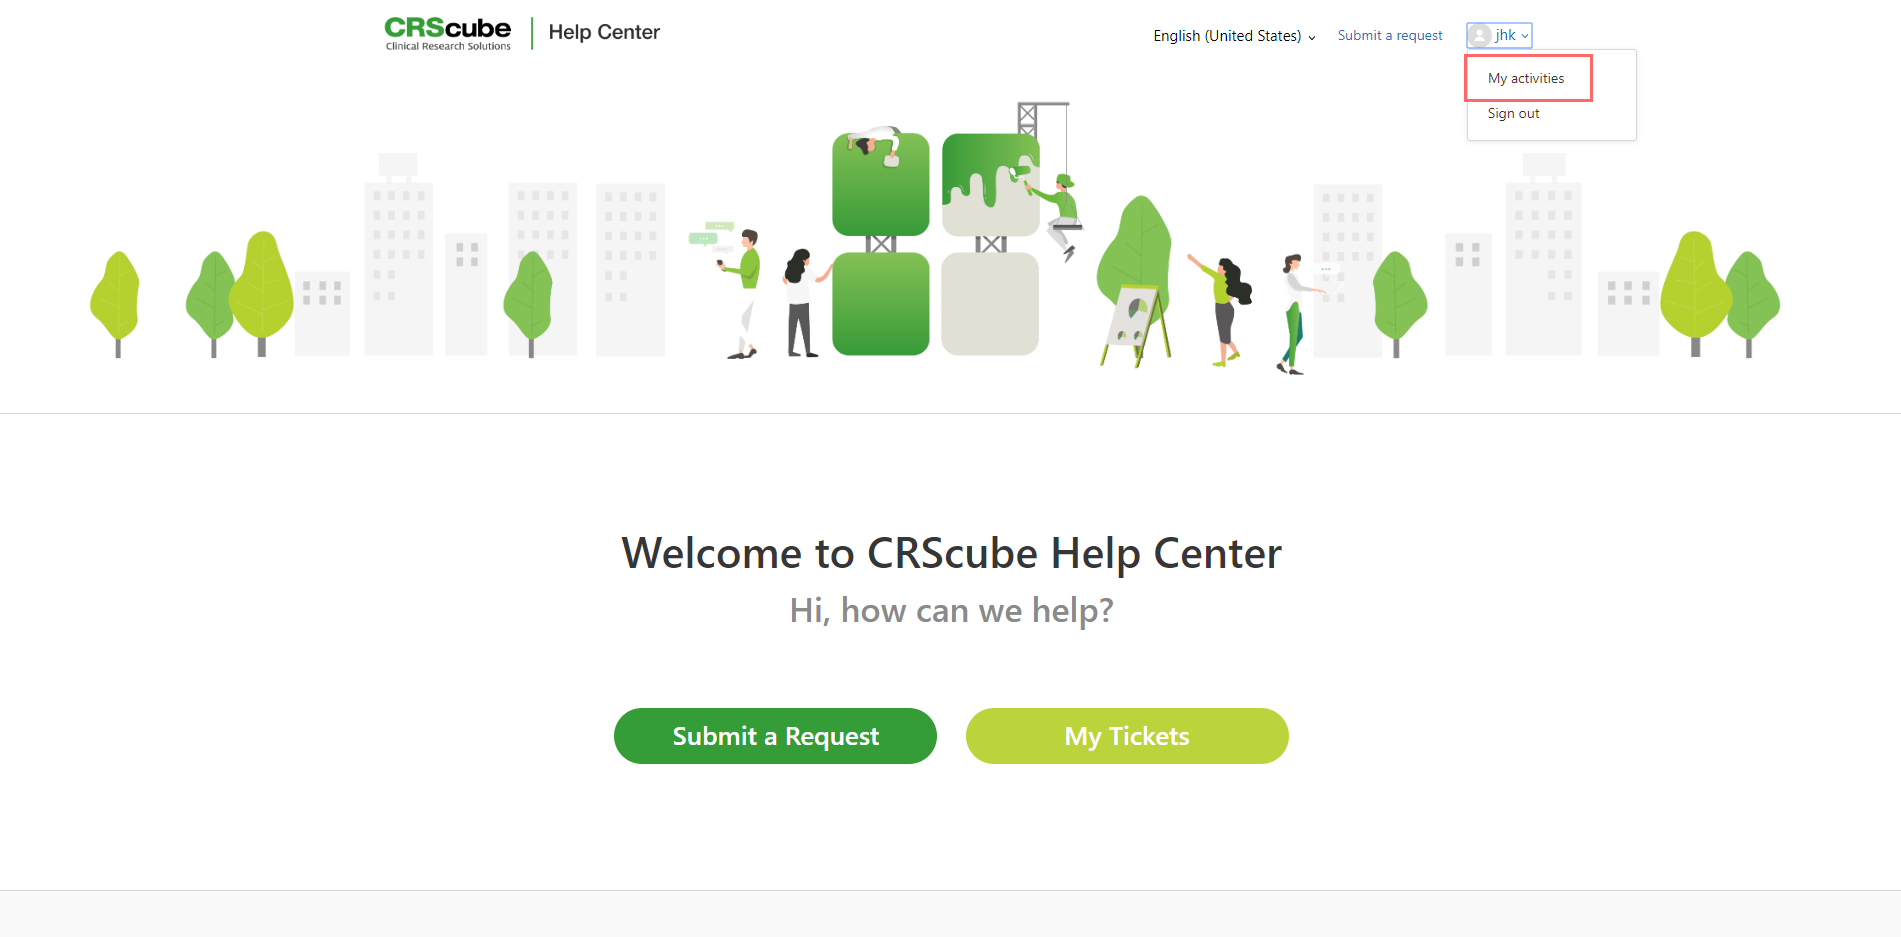
You can also check the inquiry details by clicking the user account at the top right of the Help Center screen and going to My Activities.
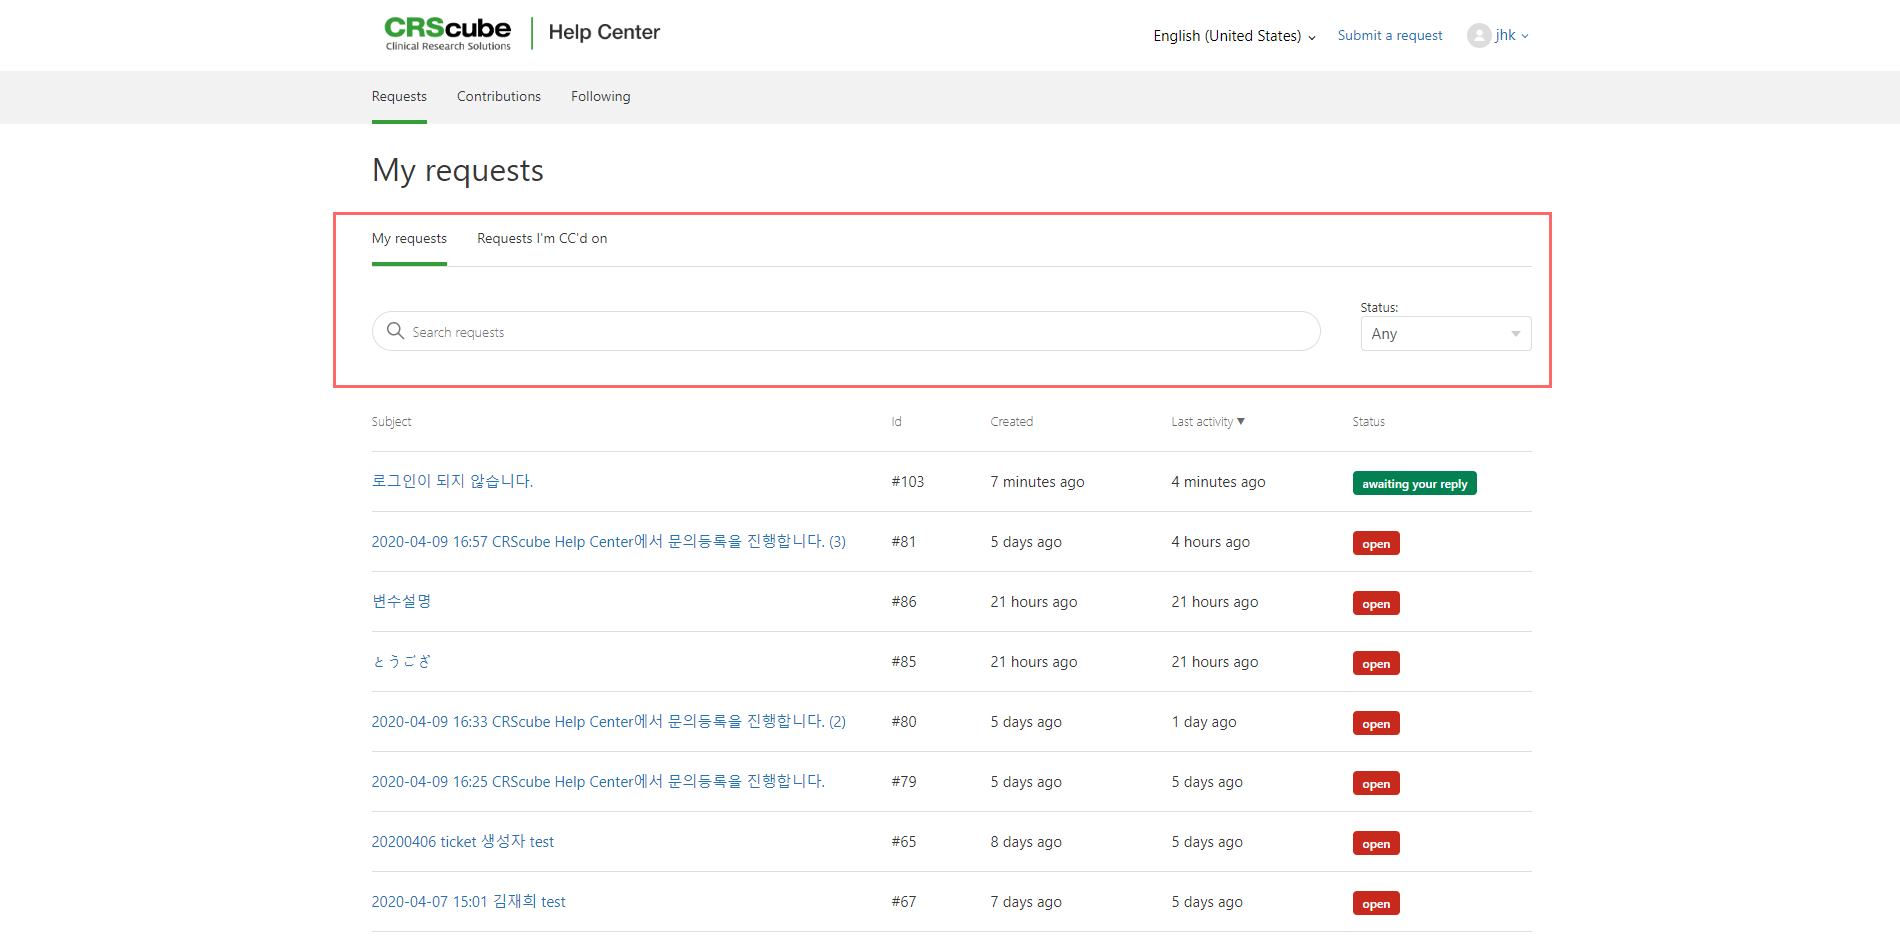
-
My requests: Tickets I created are displayed.
-
Requests I'm CC'd on: Tickets I'm CC'd on are displayed.
-
You can filter tickets by title or status.
Understanding Ticket Status
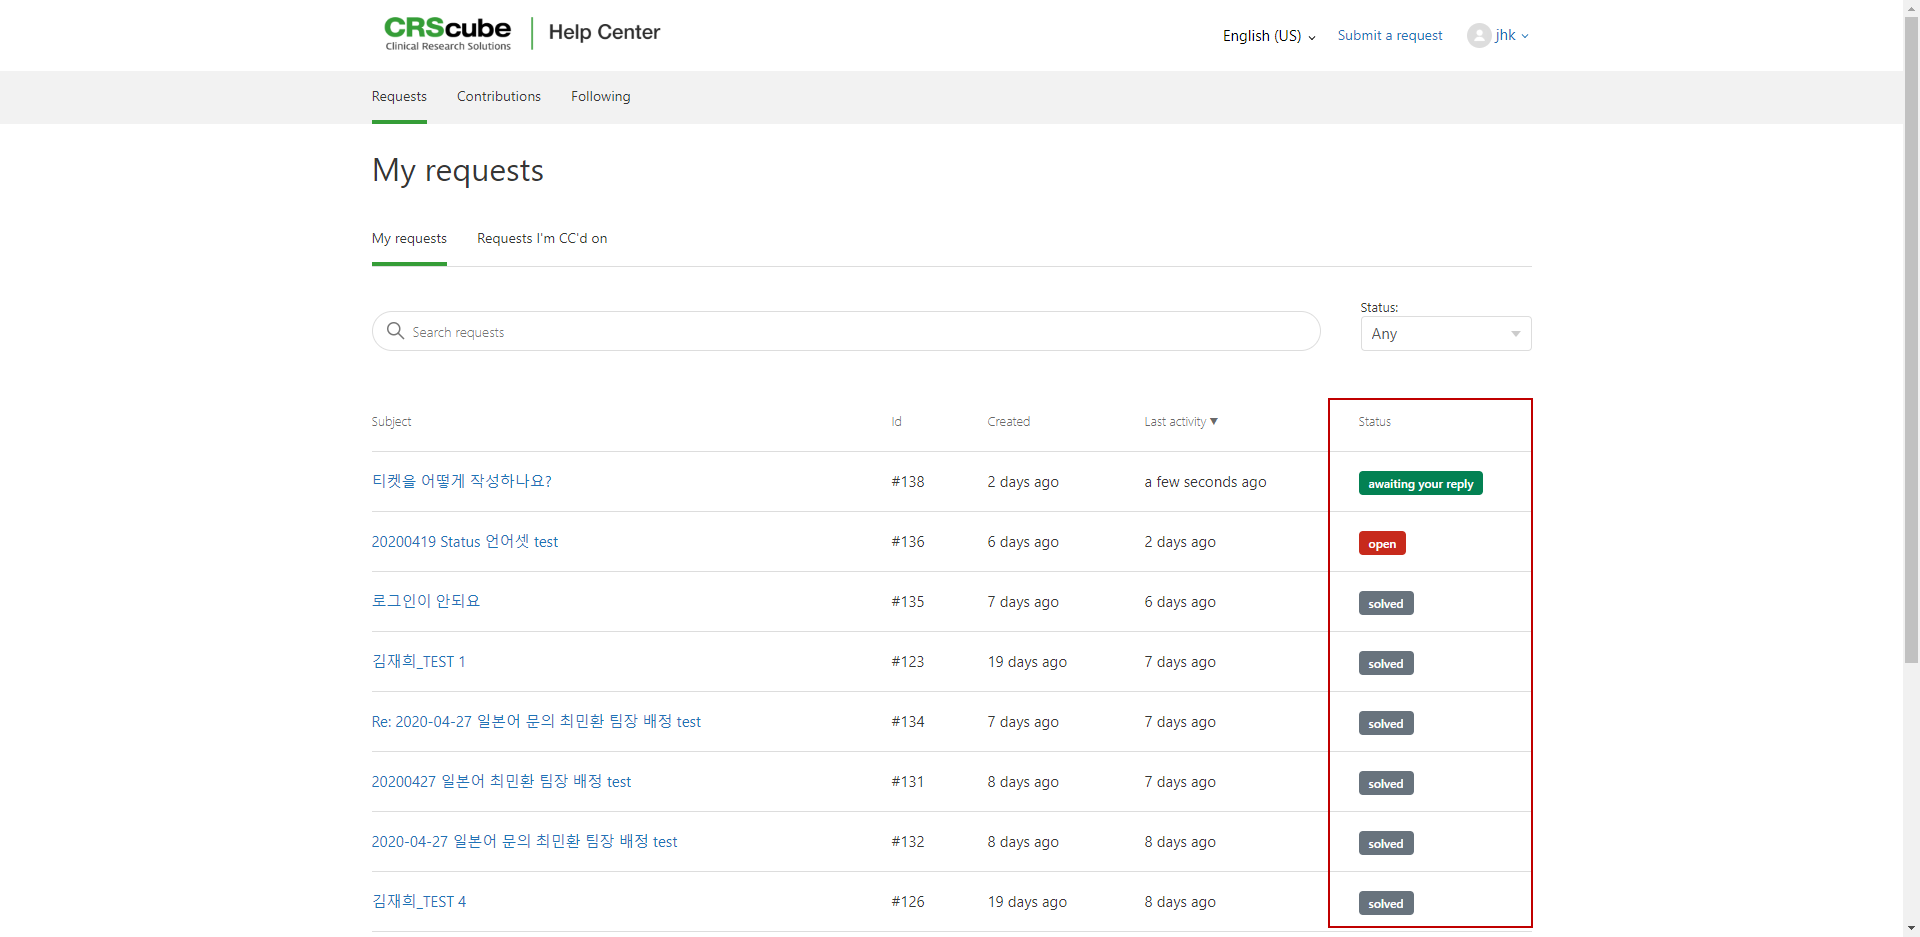
-
You can check the current progress of your ticket through its status.
Status
Description

등록
-
상담원이 답변해야 하는 티켓입니다.
응답을 기다리는 중
-
상담원이 문제를 해결하기 위해 추가 정보가 필요하여 요청자에게 질의한 티켓입니다.
-
요청자가 상담원에게 답변을 전달해야 문제를 해결할 수 있습니다.
-
"Awaiting your reply" 상태로 7일이 지나면 티켓 상태는 자동으로 "Solved"로 변경됩니다.

해결
-
문제가 해결된 티켓입니다.
-
답변이 만족스럽지 않은 경우 해당 티켓에 추가 질의를 할 수 있습니다.
추가 질의가 등록되면 티켓의 상태는 "Open"으로 변경됩니다. -
"Solved 상태로 7일이 지나면 티켓이 종료되어 동일한 티켓에 추가 질의를 할 수 없습니다.
-
종료된 티켓에 추가적인 질문이 있다면 후속티켓을 만들어 질의하시기 바랍니다.
-
Create a follow-up ticket
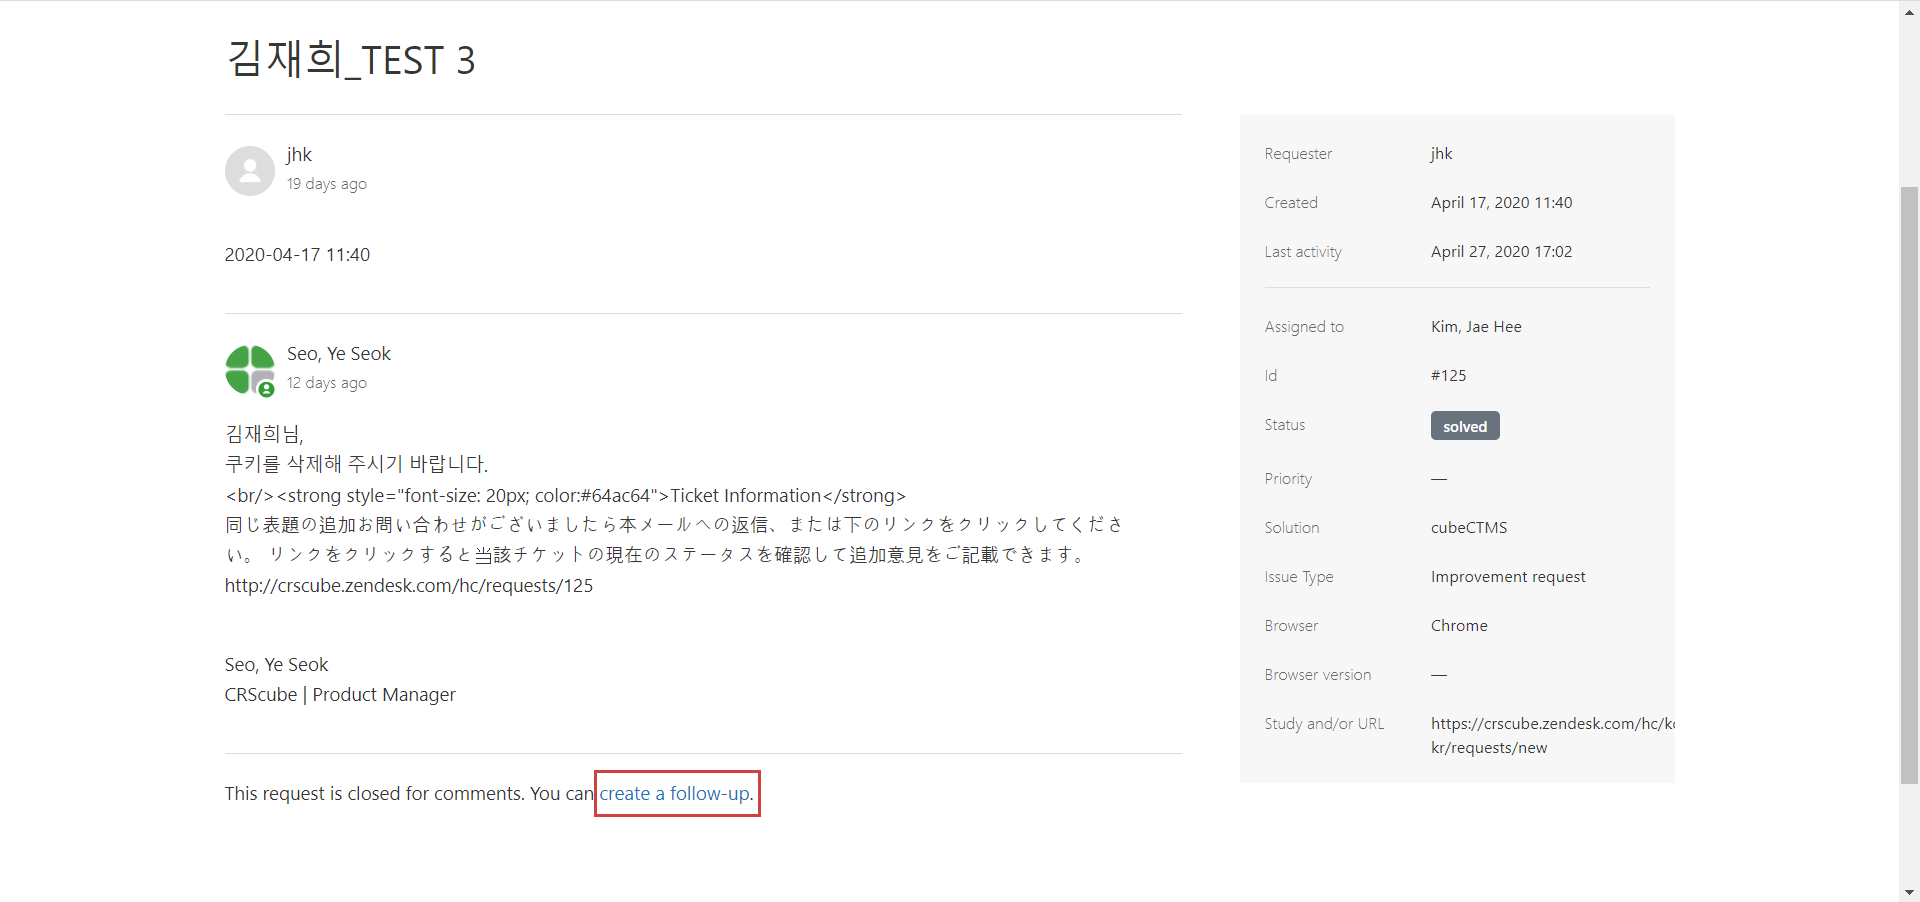
-
If you have additional questions about a closed ticket, you can use the follow-up ticket feature to inquire through the linked ticket.
-
In the ticket details, click "create a follow-up" at the bottom.
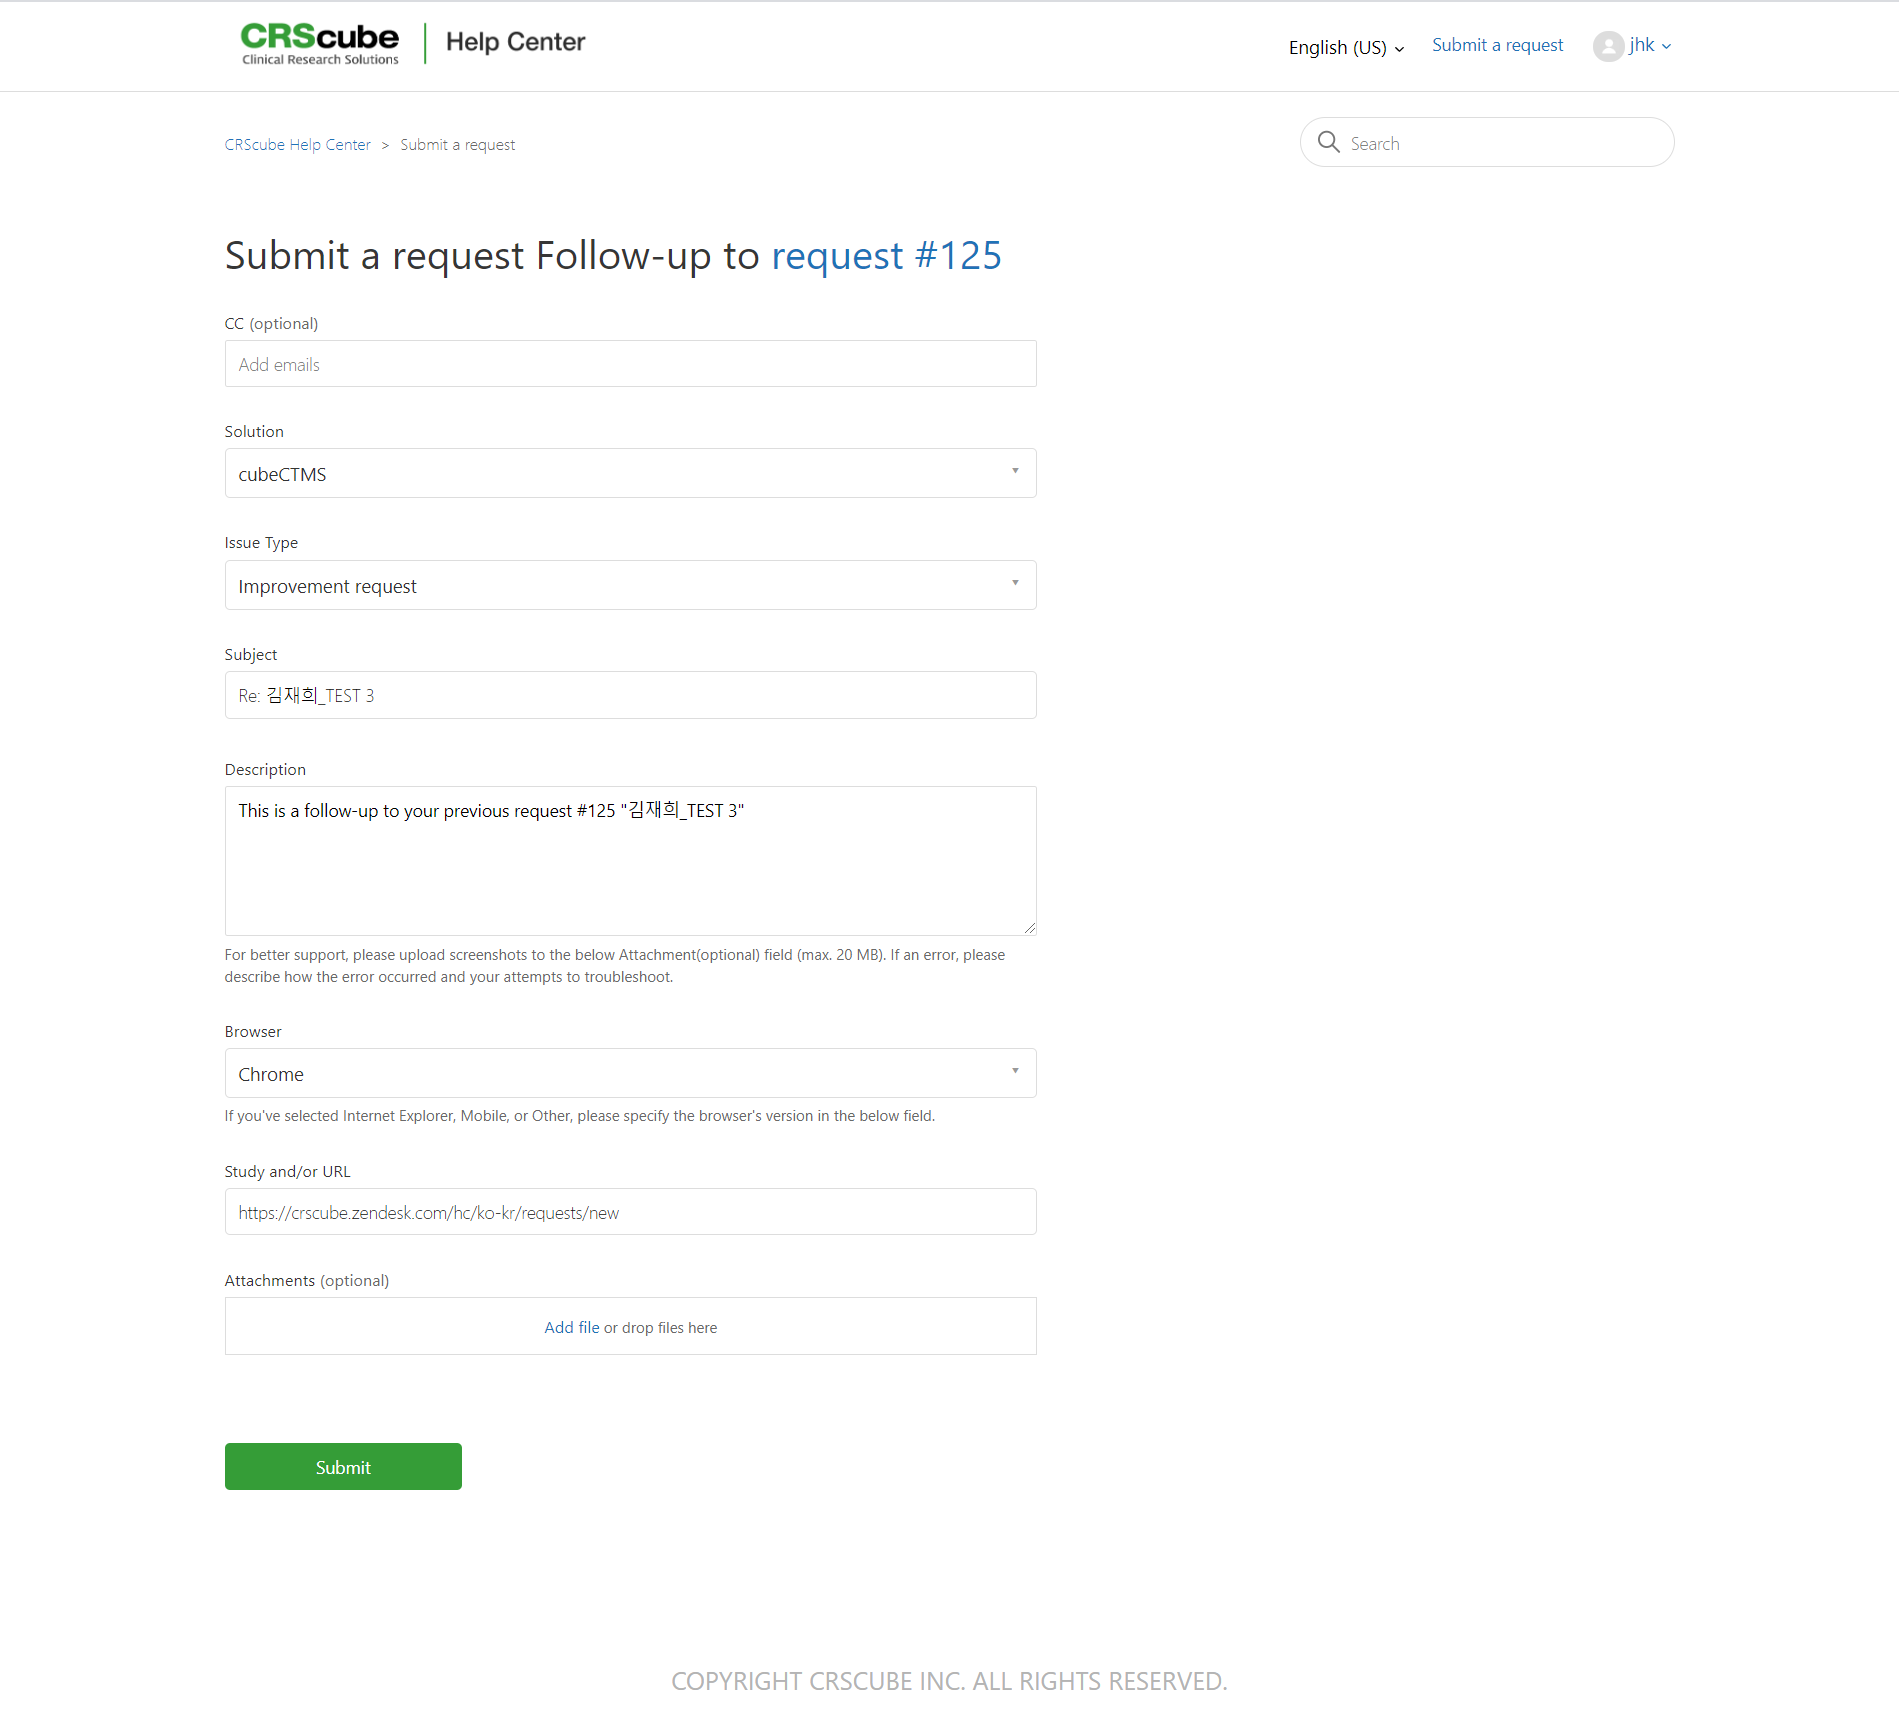
-
The inquiry submission screen appears.
-
The field is prefilled with the parent ticket details.
-
After updating the inquiry details, click "Submit".
-
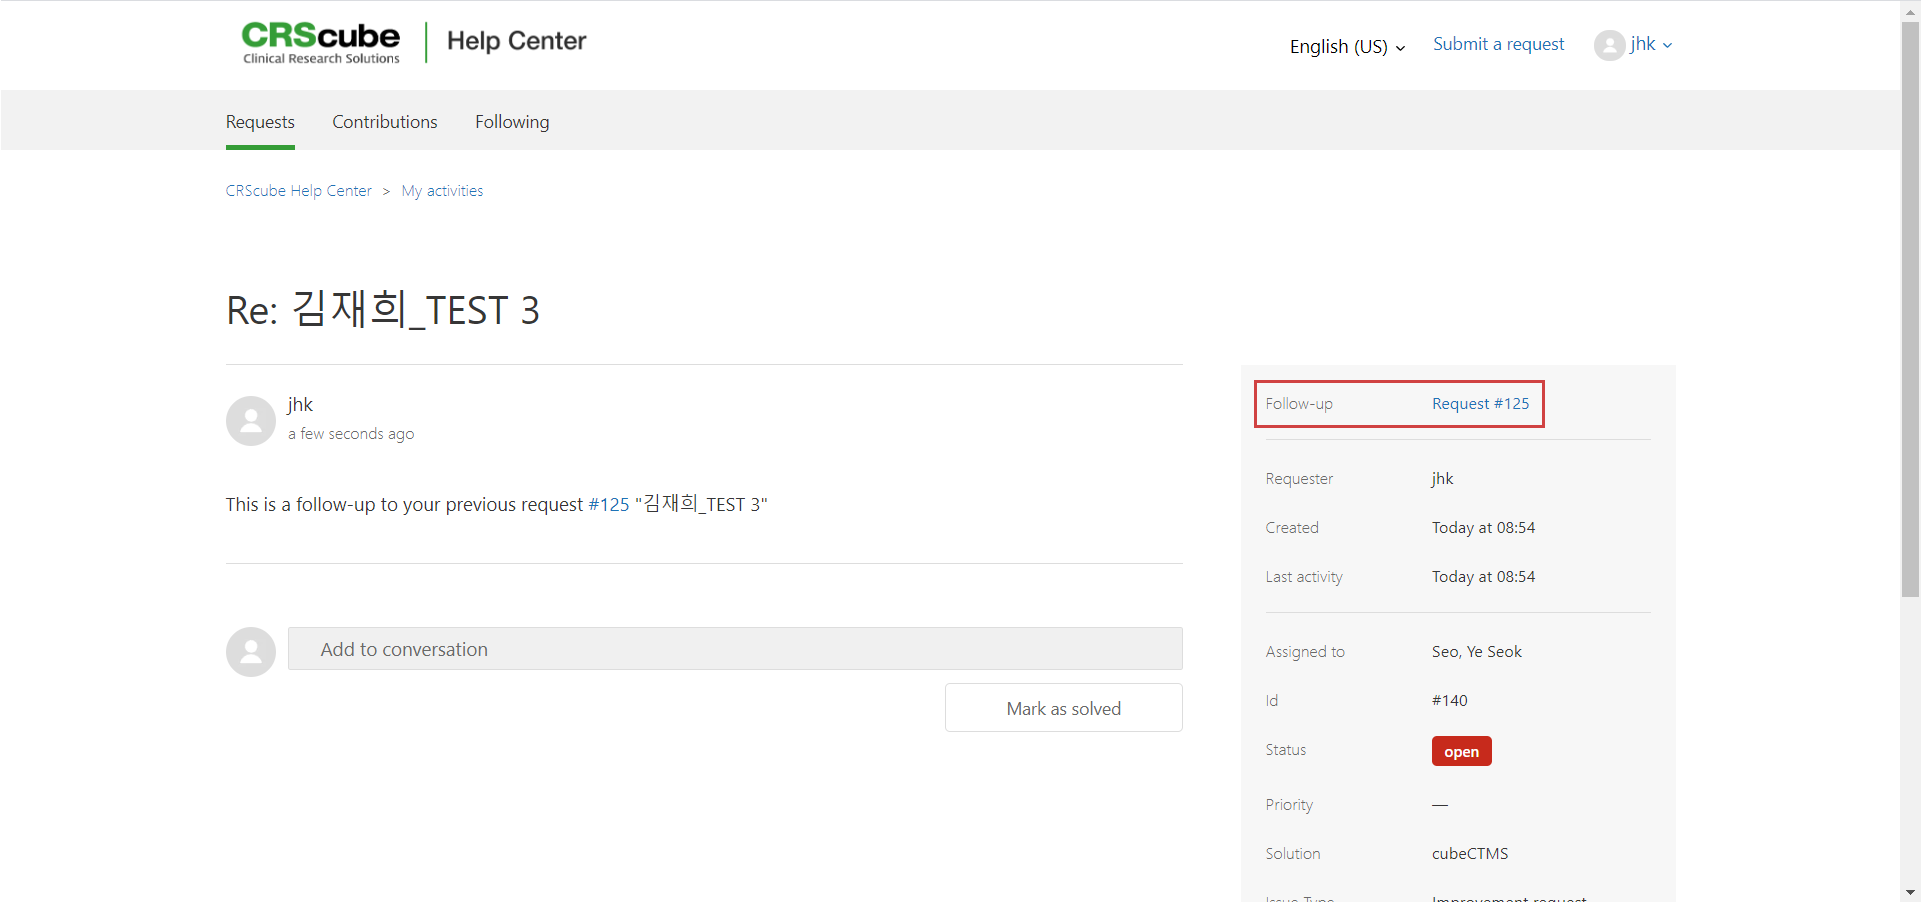
A new follow-up ticket with a new ID is created.
-
You can check the parent ticket in the Follow-up field at the top right.
Rate Satisfaction
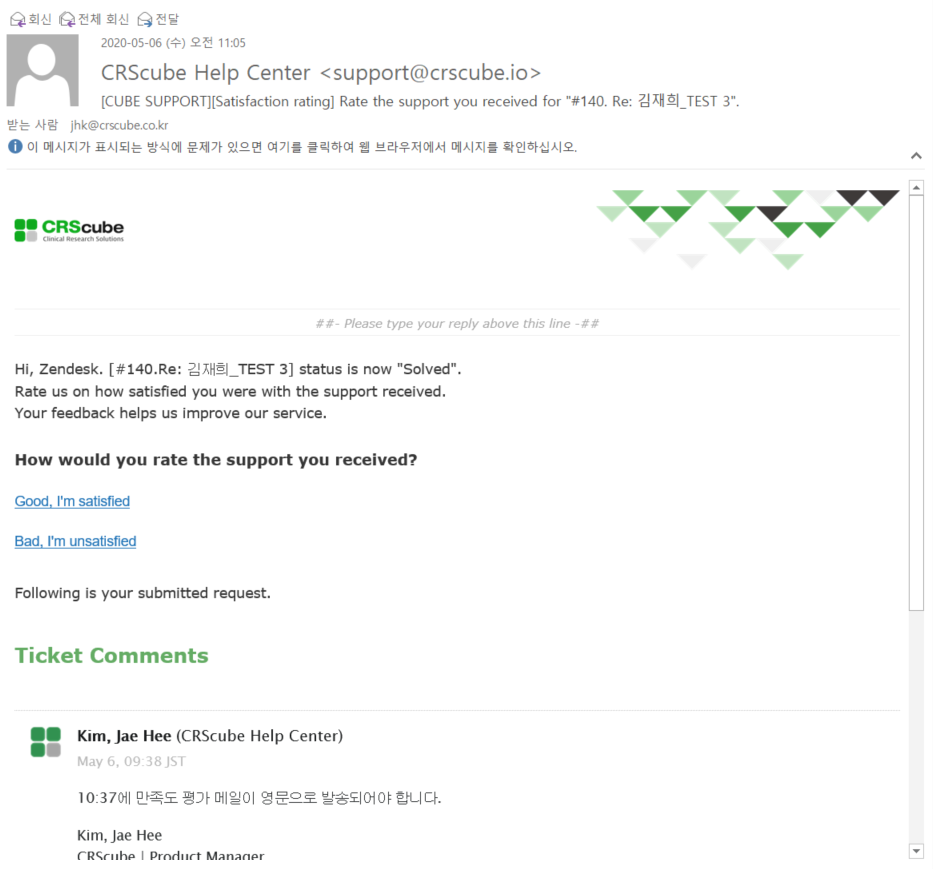
Title: [CUBE SUPPORT][Satisfaction Evaluation] "#{{ticket.id}}. {{ticket.title}}" Please rate the support quality.
-
When the ticket status changes to "Solved" and 24 hours have passed, a satisfaction evaluation email is sent to the requester.
-
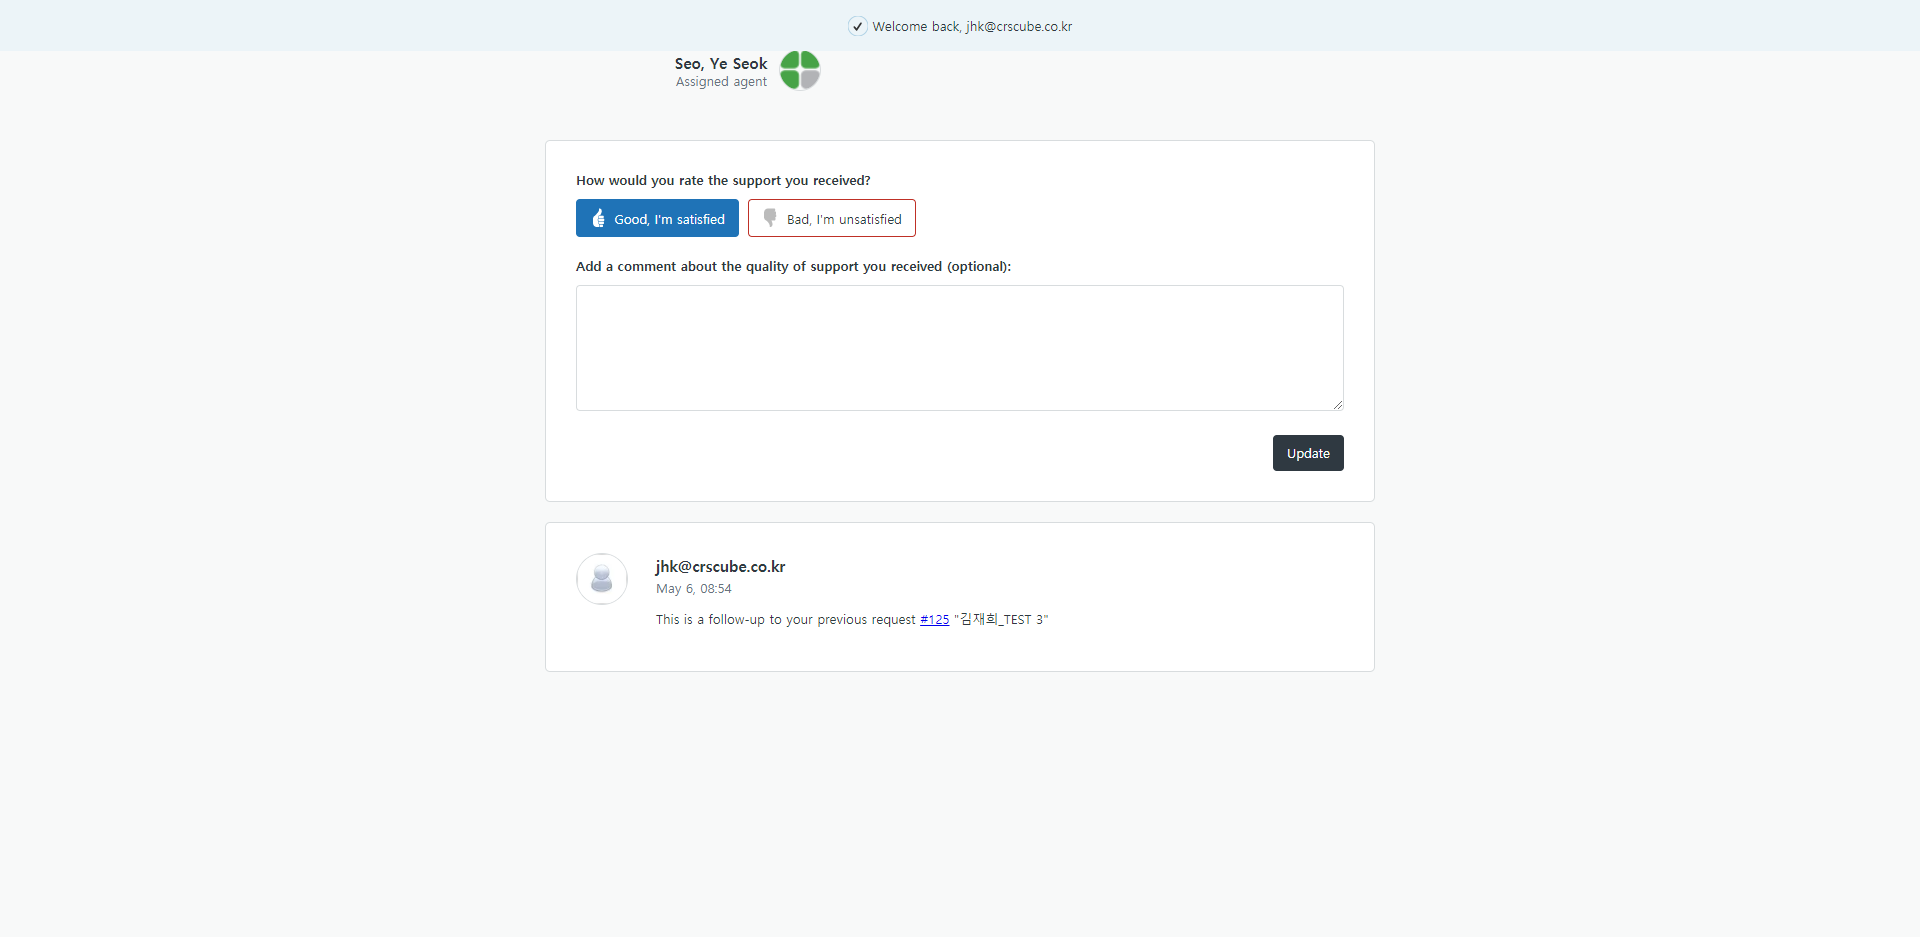
When you click the "Good" or "Bad" link, the satisfaction evaluation screen appears in the browser.
-
You can rate satisfaction as Good or Bad.
-
If you are dissatisfied, please provide specific details. We will do our best to provide better service.